
A detailed step-by-step guide for building a REST API in Node.js with AWS Lambda, API Gateway, DynamoDB, and Serverless Framework with deployment on AWS
Overview
We will be building a function app (rest api) in Node.js using Serverless Framework while understanding the concepts of development and deployment of serverless computing.
Prerequisite
- Node.js
- Basic understanding of AWS Cloud
- Bash CLI
What is the Serverless?
Serverless (also called function apps) is a cloud-native development model that allows developers to build and run applications without having to manage servers. So technically it's not Serverless, just that the runtime/server is fully managed and scaled by the cloud hosting provider.

What is the Serverless Framework?
Serverless Framework is a free and open-source web framework written using Node.js for building and deploying function apps (primarily on AWS). It comes with a great set of advantages (as said by Mathijs):
- Provides
serverless.yamlconfiguration to orchestrate functions into regions and tiers - Abstracts cloud specifications
- Event-driven configuration + capabilities
- Powerful
CLIto configure, generate and deploy cloud functions - Multi-stage deployment (integration with CI/CD pipelines)
- Cloud platform agnostic (deploy to any cloud account)
- Many official and community plugins for common solutions
-
Setup
Let's start with some hands on, Serverless Framework provides out of the box
clito facilitate setup, run and deployment of a function app. Run the below command in the terminal to install Serverless CLI:# node: v16.17 # npm: v6.14 # use nvm to install LTS latest version of the node on your machine. npm install -g serverless -
Creating a new project
Run the below commands to set up a
aws-node-http-api-typescript-dynamodbproject. You can check out all examples projects here.# Create a service in a new folder 'myService' serverless create --template-url https://github.com/serverless/examples/tree/v3/aws-node-http-api-typescript-dynamodb --path my-service # ✔ Project successfully created in "my-service" from "aws-node-http-api-typescript-dynamodb" template (11s)It will create a file structure as below:
my-service
├── README.md
├── package.json
├── serverless.yml
├── todos
│   ├── create.ts
│   ├── get.ts
│   ├── list.ts
│   └── update.ts
├── tsconfig.json
└── tslint.json
The function flow will be as below:

-
Understanding the
serverless.ymlserviceis a function/lambda name suffixed withenvironmentandframeworkVersionis the Serverless Framework version, and the latest is3.service: serverless-http-api-typescript-dynamodbprovidercontains all the details of a cloud provider, default is set toaws. It also holds theruntimelikenodejs12.x,environmentvariables, andiamroles. Refer to: Infrastructure Providersprovider: name: aws runtime: nodejs18.x lambdaHashingVersion: '20201221' environment: DYNAMODB_TABLE: ${self:service}-${sls:stage} httpApi: cors: true iam: role: statements: - Effect: Allow Action: - dynamodb:Query - dynamodb:Scan - dynamodb:GetItem - dynamodb:PutItem - dynamodb:UpdateItem - dynamodb:DeleteItem Resource: "arn:aws:dynamodb:${aws:region}:*:table/${self:provider.environment.DYNAMODB_TABLE}"functionsholds all the mapping of api endpoints and request type with the handler/implementation file. You can examine that thecreatepath is mapped with thetodos/create.create.tsfile. Refer: Lambda Functionsfunctions: create: handler: todos/create.create events: - httpApi: path: /todos method: post list: handler: todos/list.list events: - httpApi: path: /todos method: get get: handler: todos/get.get events: - httpApi: path: /todos/{id} method: get update: handler: todos/update.update events: - httpApi: path: /todos/{id} method: putresourcesholds all the resources like the database tableTodosDynamoDbTableschema. You can add all the required cloud resources here likeS3::Bucket,Events::Rule,SNS::Subscription, etc. For more details refer: Infrastructure Resourcesresources: Resources: TodosDynamoDbTable: Type: 'AWS::DynamoDB::Table' DeletionPolicy: Retain Properties: AttributeDefinitions: - AttributeName: id AttributeType: S KeySchema: - AttributeName: id KeyType: HASH BillingMode: PAY_PER_REQUEST
-
Running on local
As I earlier said Serverless Frameworks come with a great set of official and community plugins, so to run the function app locally there is a plugin that comes in handy for the job. It's called serverless-offline.
Simply run the below command on bash to add to the project:
npm install serverless-offline --save-devAnd add the below to
serverless.yaml:plugins: - serverless-offlineThen run using
serverless offline. For the complete file refer toopenwishlist/previewin serverless.yml -
Connecting DynamoDB on local
You can also add serverless-dynamodb-local to add a local
dynamodbinstance on an offline run.npm install serverless-dynamodb-local --save-devAnd add the below to
serverless.yaml:plugins: - serverless-dynamodb-local custom: dynamodb: stages: - dev - live start: migrate: trueThen run using
serverless offlinewhich will start a local dynamodb and migrate a schema automatically. For the complete file refer toopenwishlist/previewin serverless.yml -
Building a scraping service
Finally, let's focus on building a scraping service. It's like a cat and mouse game, the website owners use newer and better bot blocking services, while the scrapers keep finding evasions to avoid getting detected.
The scraping service I built is part of a larger project and is complete opensource. Feel free to explore the code and contribute at openwishlist/preview.
Also, you can check out the detailed design of the service below and continue reading this article:

As per the current design, the service depends on a
curlrequest andheadless chrometo get the html content of the page. The lambda function tries to initially get data by acurlrequest (which is almost get blocked in top ecommerce stores like Amazon and Walmart) and then goes to fallback which isheadless chromedriven bypuppeteerto load the page and get the html content.The detailed directory tree can be seen below:
# tree -I "node_modules|test*|spec" . ├── README.md ├── config │ └── default.json ├── jest-dynamodb-config.js ├── jest.config.ts ├── layers │ └── chromium-v109.0.6-layer.zip ├── package-lock.json ├── package.json ├── renovate.json ├── serverless.yml ├── src │ ├── api │ │ └── preview │ │ └── get.ts │ ├── lib │ │ ├── browser.ts │ │ ├── parsers │ │ │ ├── amazon.ts │ │ │ ├── manual.ts │ │ │ ├── parser.ts │ │ │ └── schema.ts │ │ └── scraper.ts │ ├── models │ │ └── result.ts │ └── utils │ └── common.ts ├── tsconfig.json └── tslint.json- The
src/api/preview/get.tsfile is the primary API request handler mapped tohttps://preview.api.play.adapttive.com/preview/<base64_encoded_url> - The
src/lib/scraper.tsfile holds all the logic to loads the request URL and grabs the HTML content using the most efficientsrc/lib/parser. Thescraper.tstries to load the URL usingaxiosGETrequest on error or in case blocked, fallbacks tosrc/lib/browser.ts. -
browser.ts: Runningaxiosrequest on AWS Lambda is a pretty easy job, but launching a headless chrome takes a lot of efforts and experimentation. As there are a lot of blockers like:- AWS Lambda package size limit (~50MB): it has been resolved using a Lamda Layers of Chromium. The
layers/chromium-v109.0.6-layer.zipis pushed during the build to Lambda layers and linked to the Lambda function. The mapping is done usingserverless.yamlas below:layers: HeadlessChrome: name: HeadlessChrome compatibleRuntimes: - nodejs16.x description: Required for headless chrome package: artifact: layers/chromium-v109.0.6-layer.zip - Headless Chrome getting detected as a robot browser: There are a lot of firewall rules and security protocols to identify the HTML page requester as a robot are in place, Like captcha verification used in Cloudfare. I have used a puppeteer library called
puppeteer-extrawithpuppeteer-extra-plugin-stealthto makes headless browser behave like a real user. - Differences in Local and AWS Lambda environments: Testing locally can be little difficult with
headless-chromeas your local chrome can have a different version. So, always verify the local chrome version with your puppeteer compatible version. Also,puppeteer-extradoes not work properly on the Windows development environment.
- AWS Lambda package size limit (~50MB): it has been resolved using a Lamda Layers of Chromium. The
-
parsers: I am usingcheeriolibrary for parsing and traversing the HTML to get the required data, but the HTML is not same for all ecommerce stores, which made me to create 3 different types of HTML parsers.schema.ts: For most of ecommerce stores the HTML head containsapplication/ld+jsonwhich is standard product datajsonspecified by schema.org. Thecheeriofinds thisjsonand prepares the result using the same.manual.ts: The manual parsers traverses the HTML and useshead->titleandhead->descriptionto prepare the result.amazon.ts: The amazon parsers works only if domain matches to applicable amazon stores in any region. It searches the required values from page data and prepares the result.
- The
-
How to debug?
The could be a lot of scenarios causing the
curlorheadless-chromerequest to be blocked or fail. You can try the below steps to fix:-
Run
serverlesson local with verbose logging and verify error logs:serverless offline start --verbose - Check puppeteer and chrome version compatibility on the official puppeteer support page: https://pptr.dev/chromium-support. Both versions should match or it will fail to work properly.
- Comment out all
puppeteer-extraif used. - Comment out all
puppeteer-extraplugins if used. - Disable stealth evasions one by one and find the one breaking if using
puppeteer-extra-plugin-stealth
const stealth = StealthPlugin(); // stealth.enabledEvasions.delete('iframe.contentWindow') // stealth.enabledEvasions.delete('chrome.app') // stealth.enabledEvasions.delete('chrome.csi') // stealth.enabledEvasions.delete('chrome.loadTimes') // stealth.enabledEvasions.delete('chrome.runtime') // stealth.enabledEvasions.delete('defaultArgs') // stealth.enabledEvasions.delete('iframe.contentWindow') // stealth.enabledEvasions.delete('media.codecs') // stealth.enabledEvasions.delete('navigator.hardwareConcurrency') // stealth.enabledEvasions.delete('navigator.languages') // stealth.enabledEvasions.delete('navigator.permissions') // stealth.enabledEvasions.delete('navigator.plugins') // stealth.enabledEvasions.delete('navigator.webdriver') // stealth.enabledEvasions.delete('sourceurl') stealth.enabledEvasions.delete('user-agent-override') // this one blocking the chrome launch // stealth.enabledEvasions.delete('webgl.vendor') // stealth.enabledEvasions.delete('window.outerdimensions') console.log(stealth.enabledEvasions)- Add
DEBUGenv variable to run the test script for debug logs on terminal
DEBUG=puppeteer-extra,puppeteer-extra-plugin:* npx ts-node browser.ts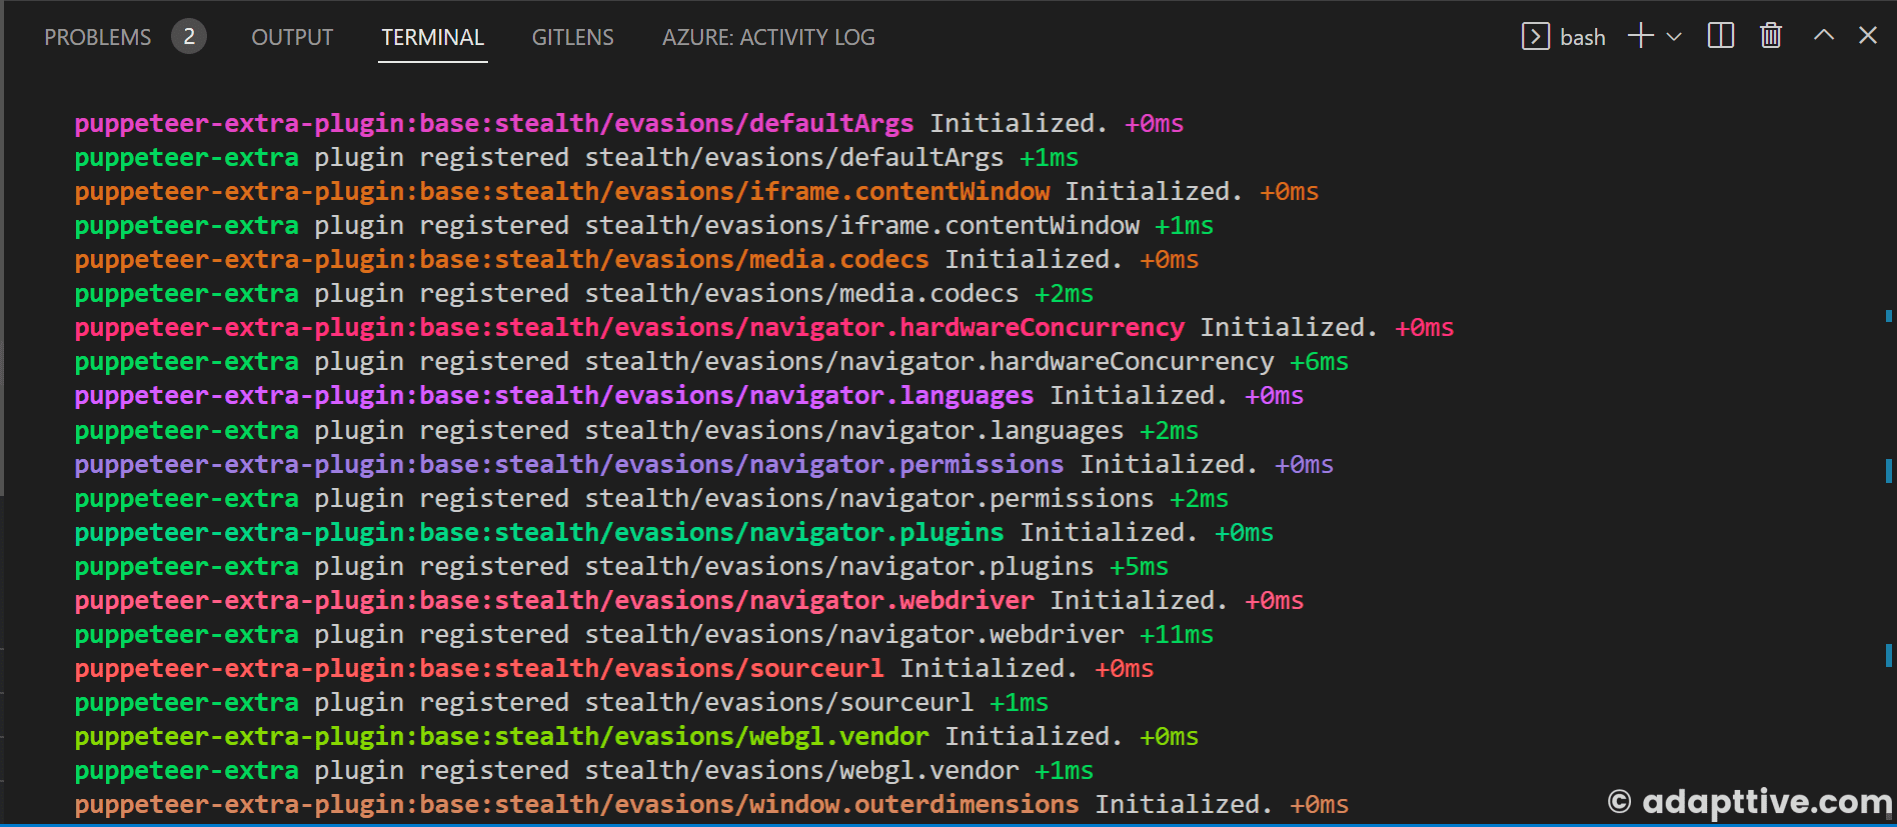
- Enable remote debug args and check with chrome://inspect
const options = { args: chromium.args, defaultViewport: chromium.defaultViewport, headless: chromium.headless, executablePath: await chromium.executablePath(), ignoreHTTPSErrors: true }; options.args.push('--remote-debugging-port=9222'); options.args.push('--remote-debugging-address=0.0.0.0'); const browser = await puppeteer.launch(options);- Join discord for community support at https://extra.community
-
-
Deployment
References:
- https://github.com/openwishlist/preview
- https://openwishlist.stoplight.io/docs/preview
- https://www.serverless.com/framework/docs/providers/aws/guide/layers
- https://github.com/Sparticuz/chromium
- https://github.com/crespowang/serverless-lambda-chrome
- https://crespowang.medium.com/create-pdf-using-chromium-puppeteer-in-serverless-aws-lambda-685906df62d5
- https://levelup.gitconnected.com/serverless-lambda-layers-d8f8374404e3
- https://www.zenrows.com/blog/puppeteer-avoid-detection
- https://pptr.dev
- https://www.hackages.io/video-tutorials/writing-cloud-platform-independent-lambda-functions-with-serverless-framework