
A step by step tutorial for deploying a Serverless service with local bash and GitHub Action pipeline.
Serverless apps can be deployed in several ways, in this article, we gonna try deploying in the 2 easiest ways possible.
-
Serverless App Setup
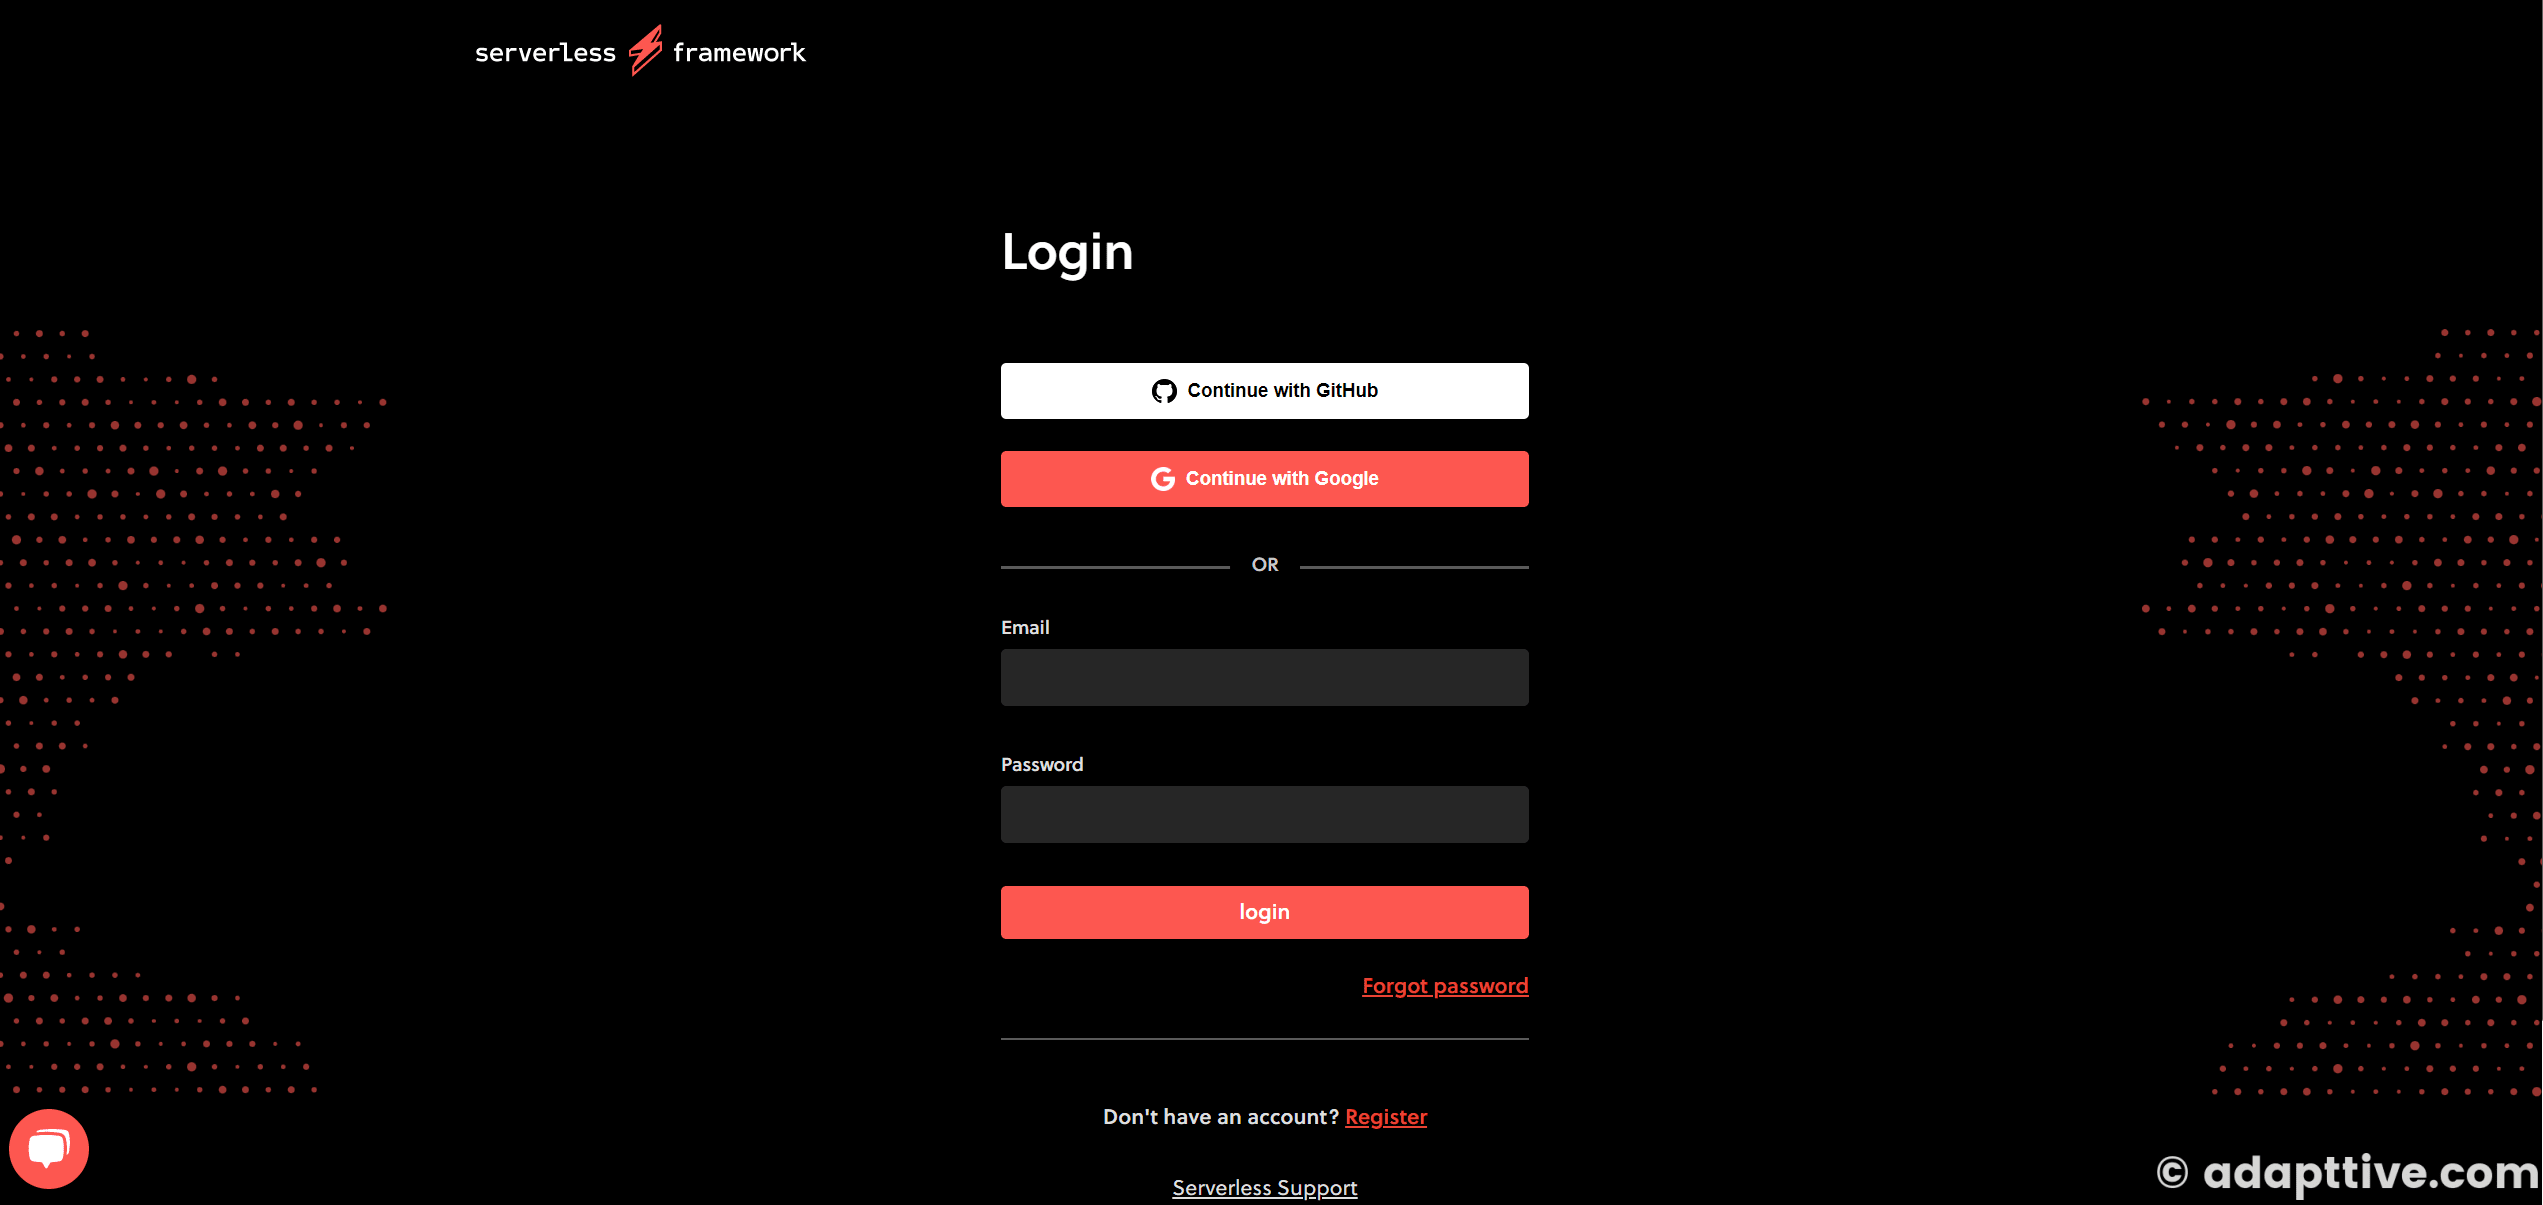
- Signup at app.serverless.com as in the images below.
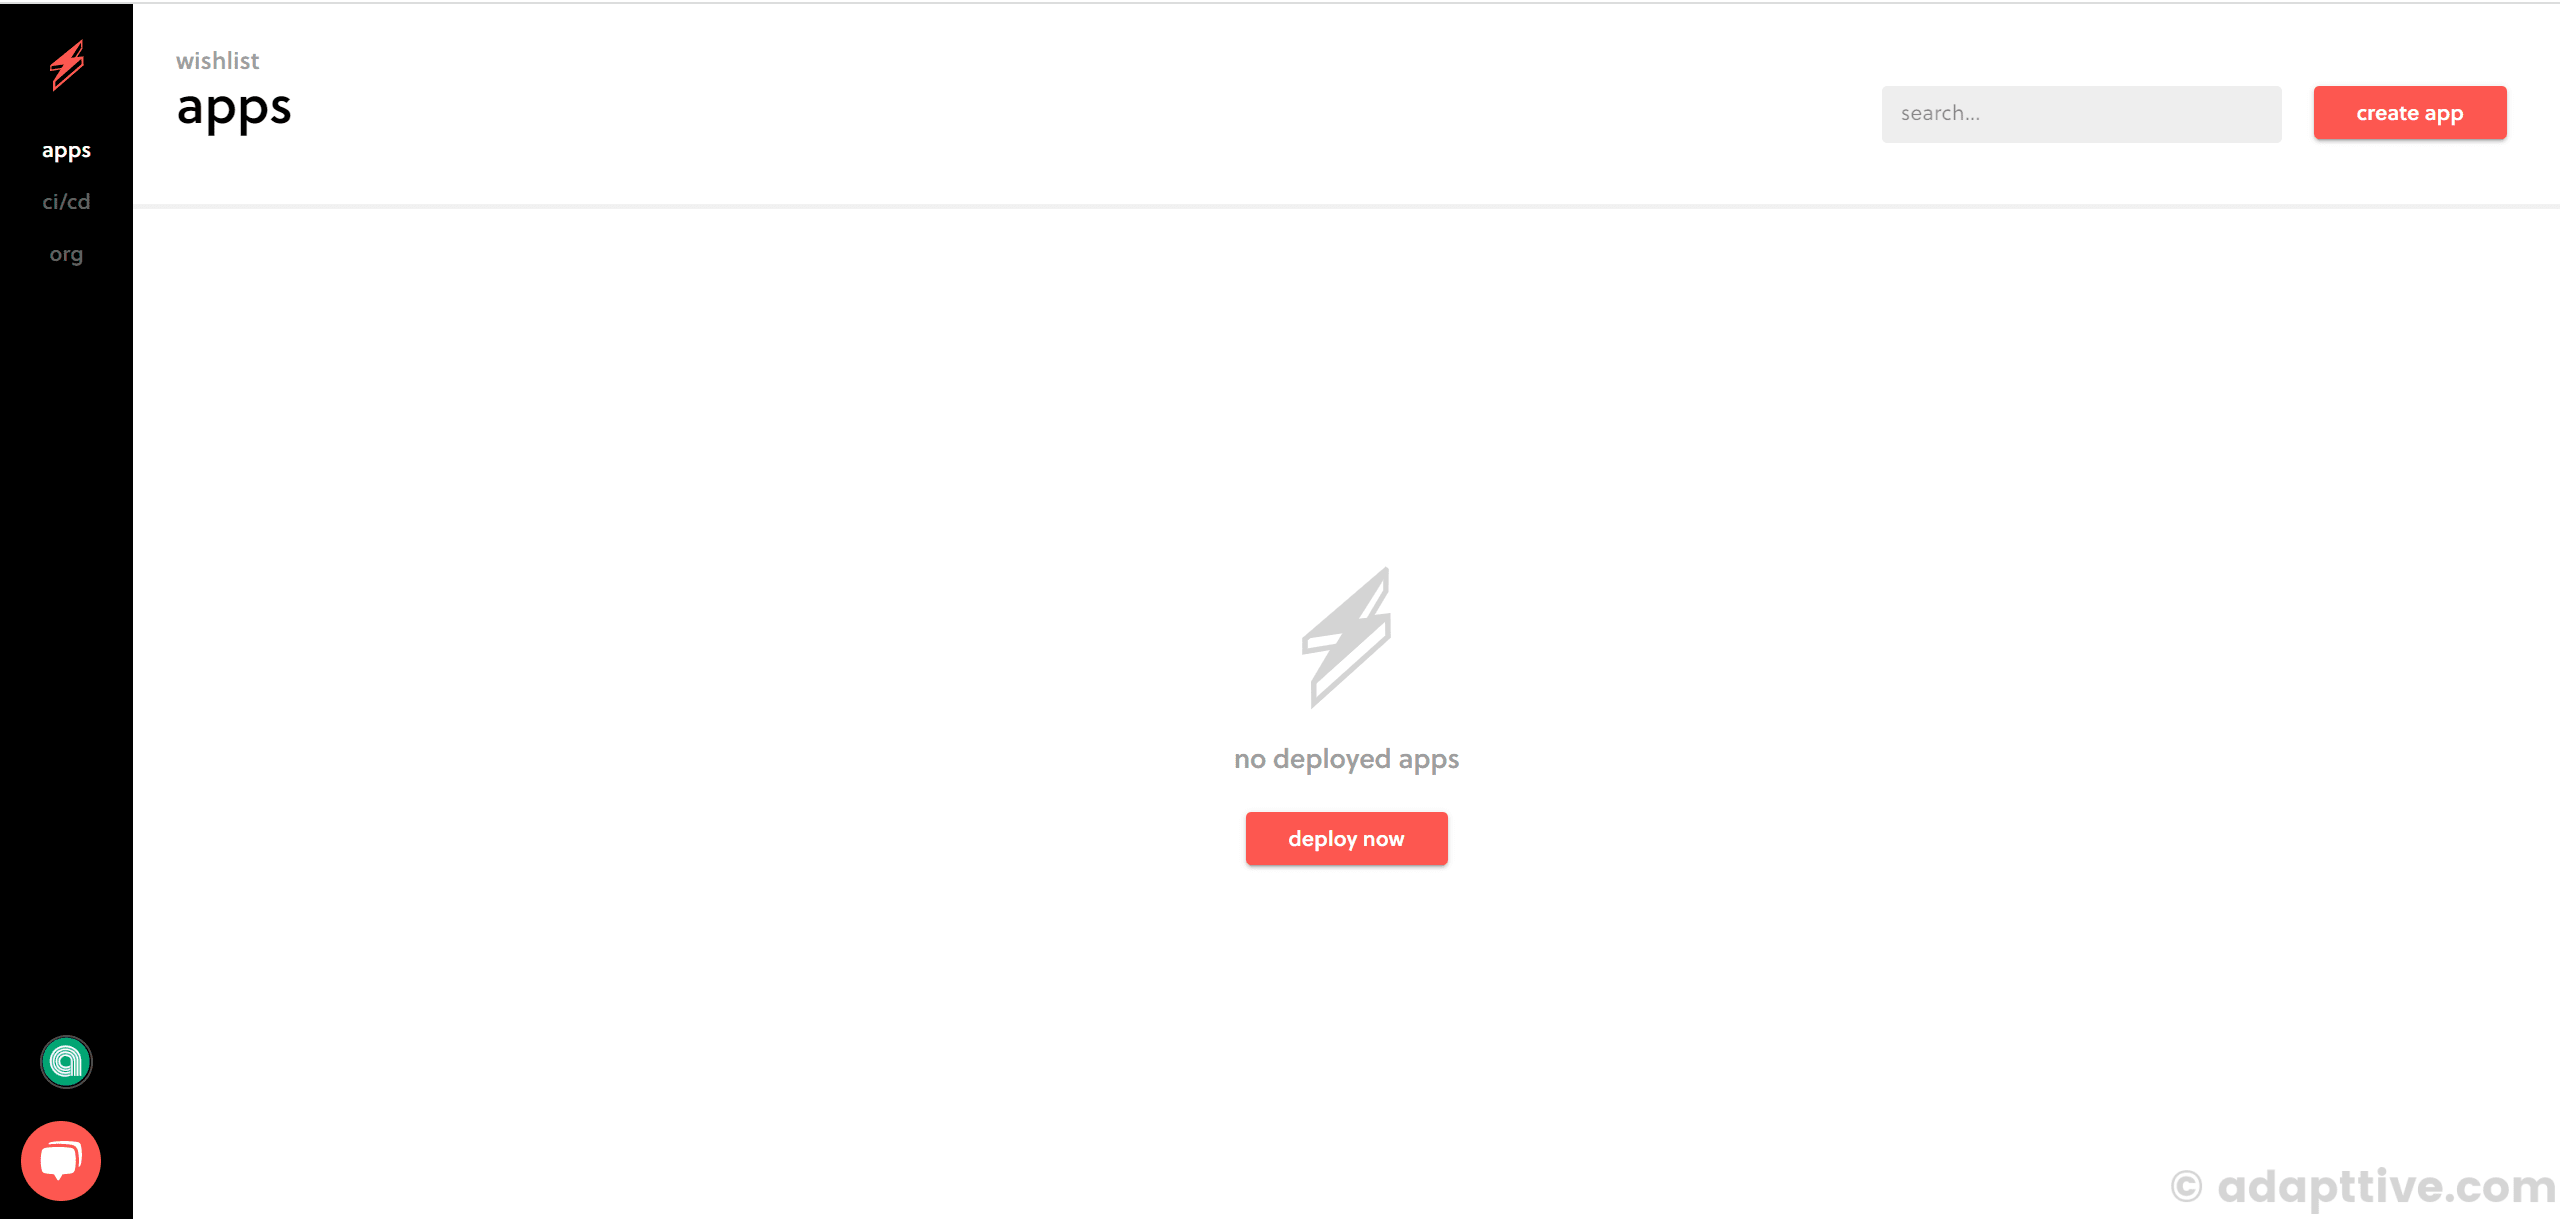
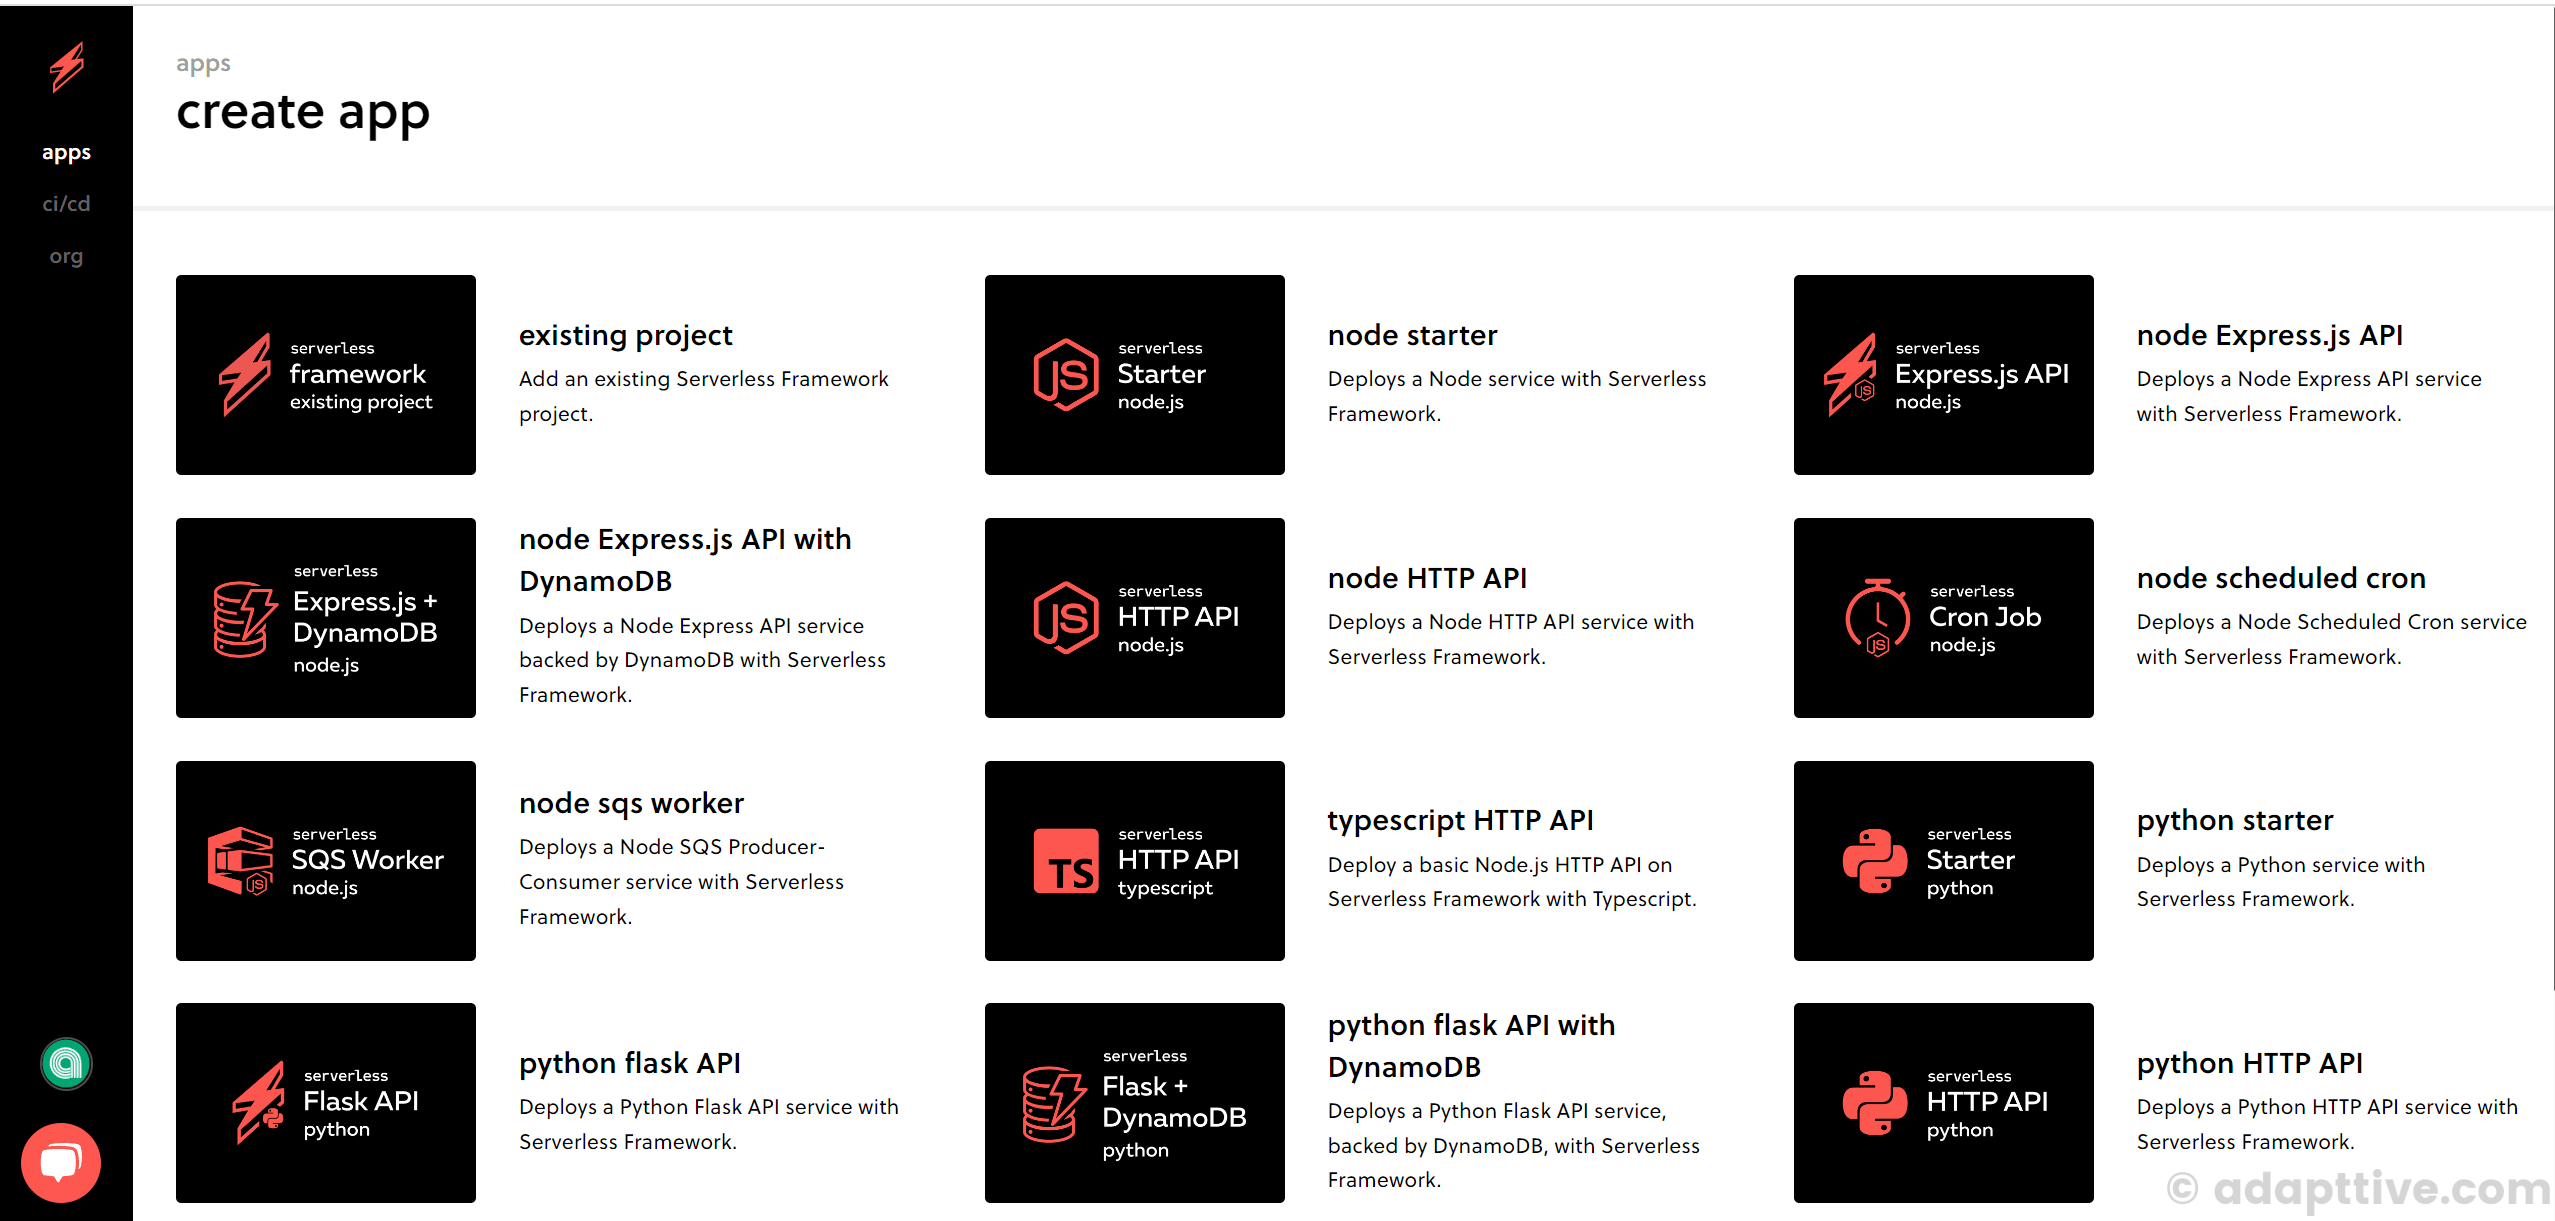
- Create a new app in the Serverless dashboard:
- Install Serverless
cliusing the below command ( If you did not havenodeornpminstalled check out this tutorial ).
npm install -g serverless # check with serverless -v # output: # Framework Core: 3.28.1 # Plugin: 6.2.3 # SDK: 4.3.2- Select
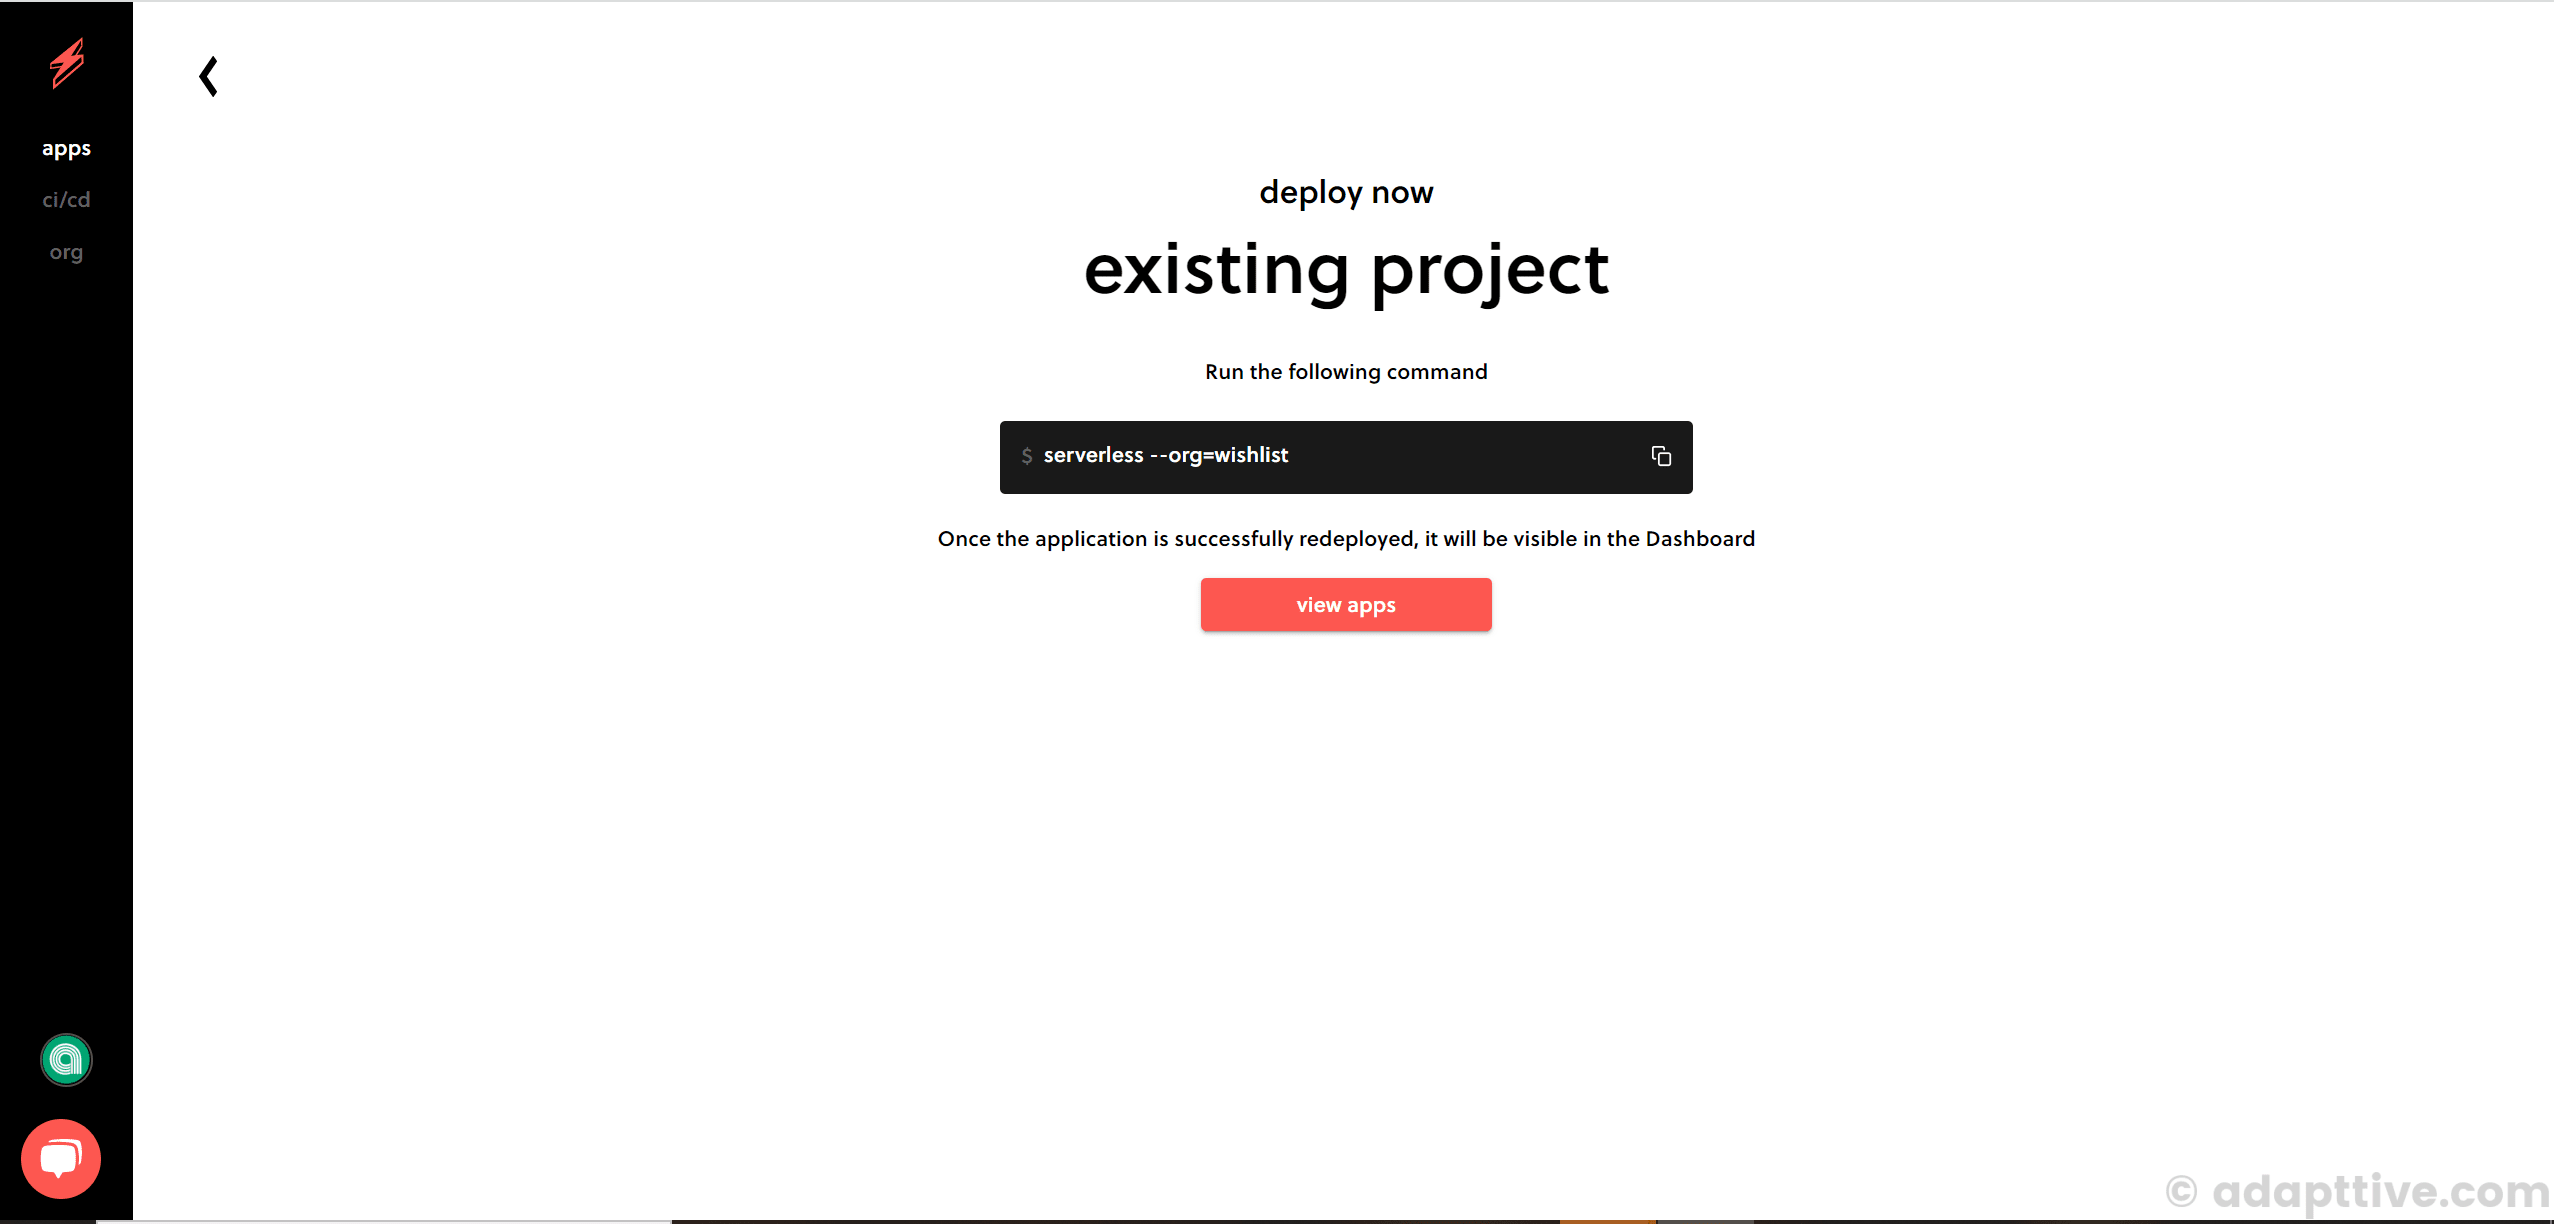
existing projectand run the below command in the root of your project (checkout sample project here, I am usingaws-node-typescriptsample.):
npm install serverless --org=<username>- Login with the Serverless Dashboard account and authorize the
serverless clias below:
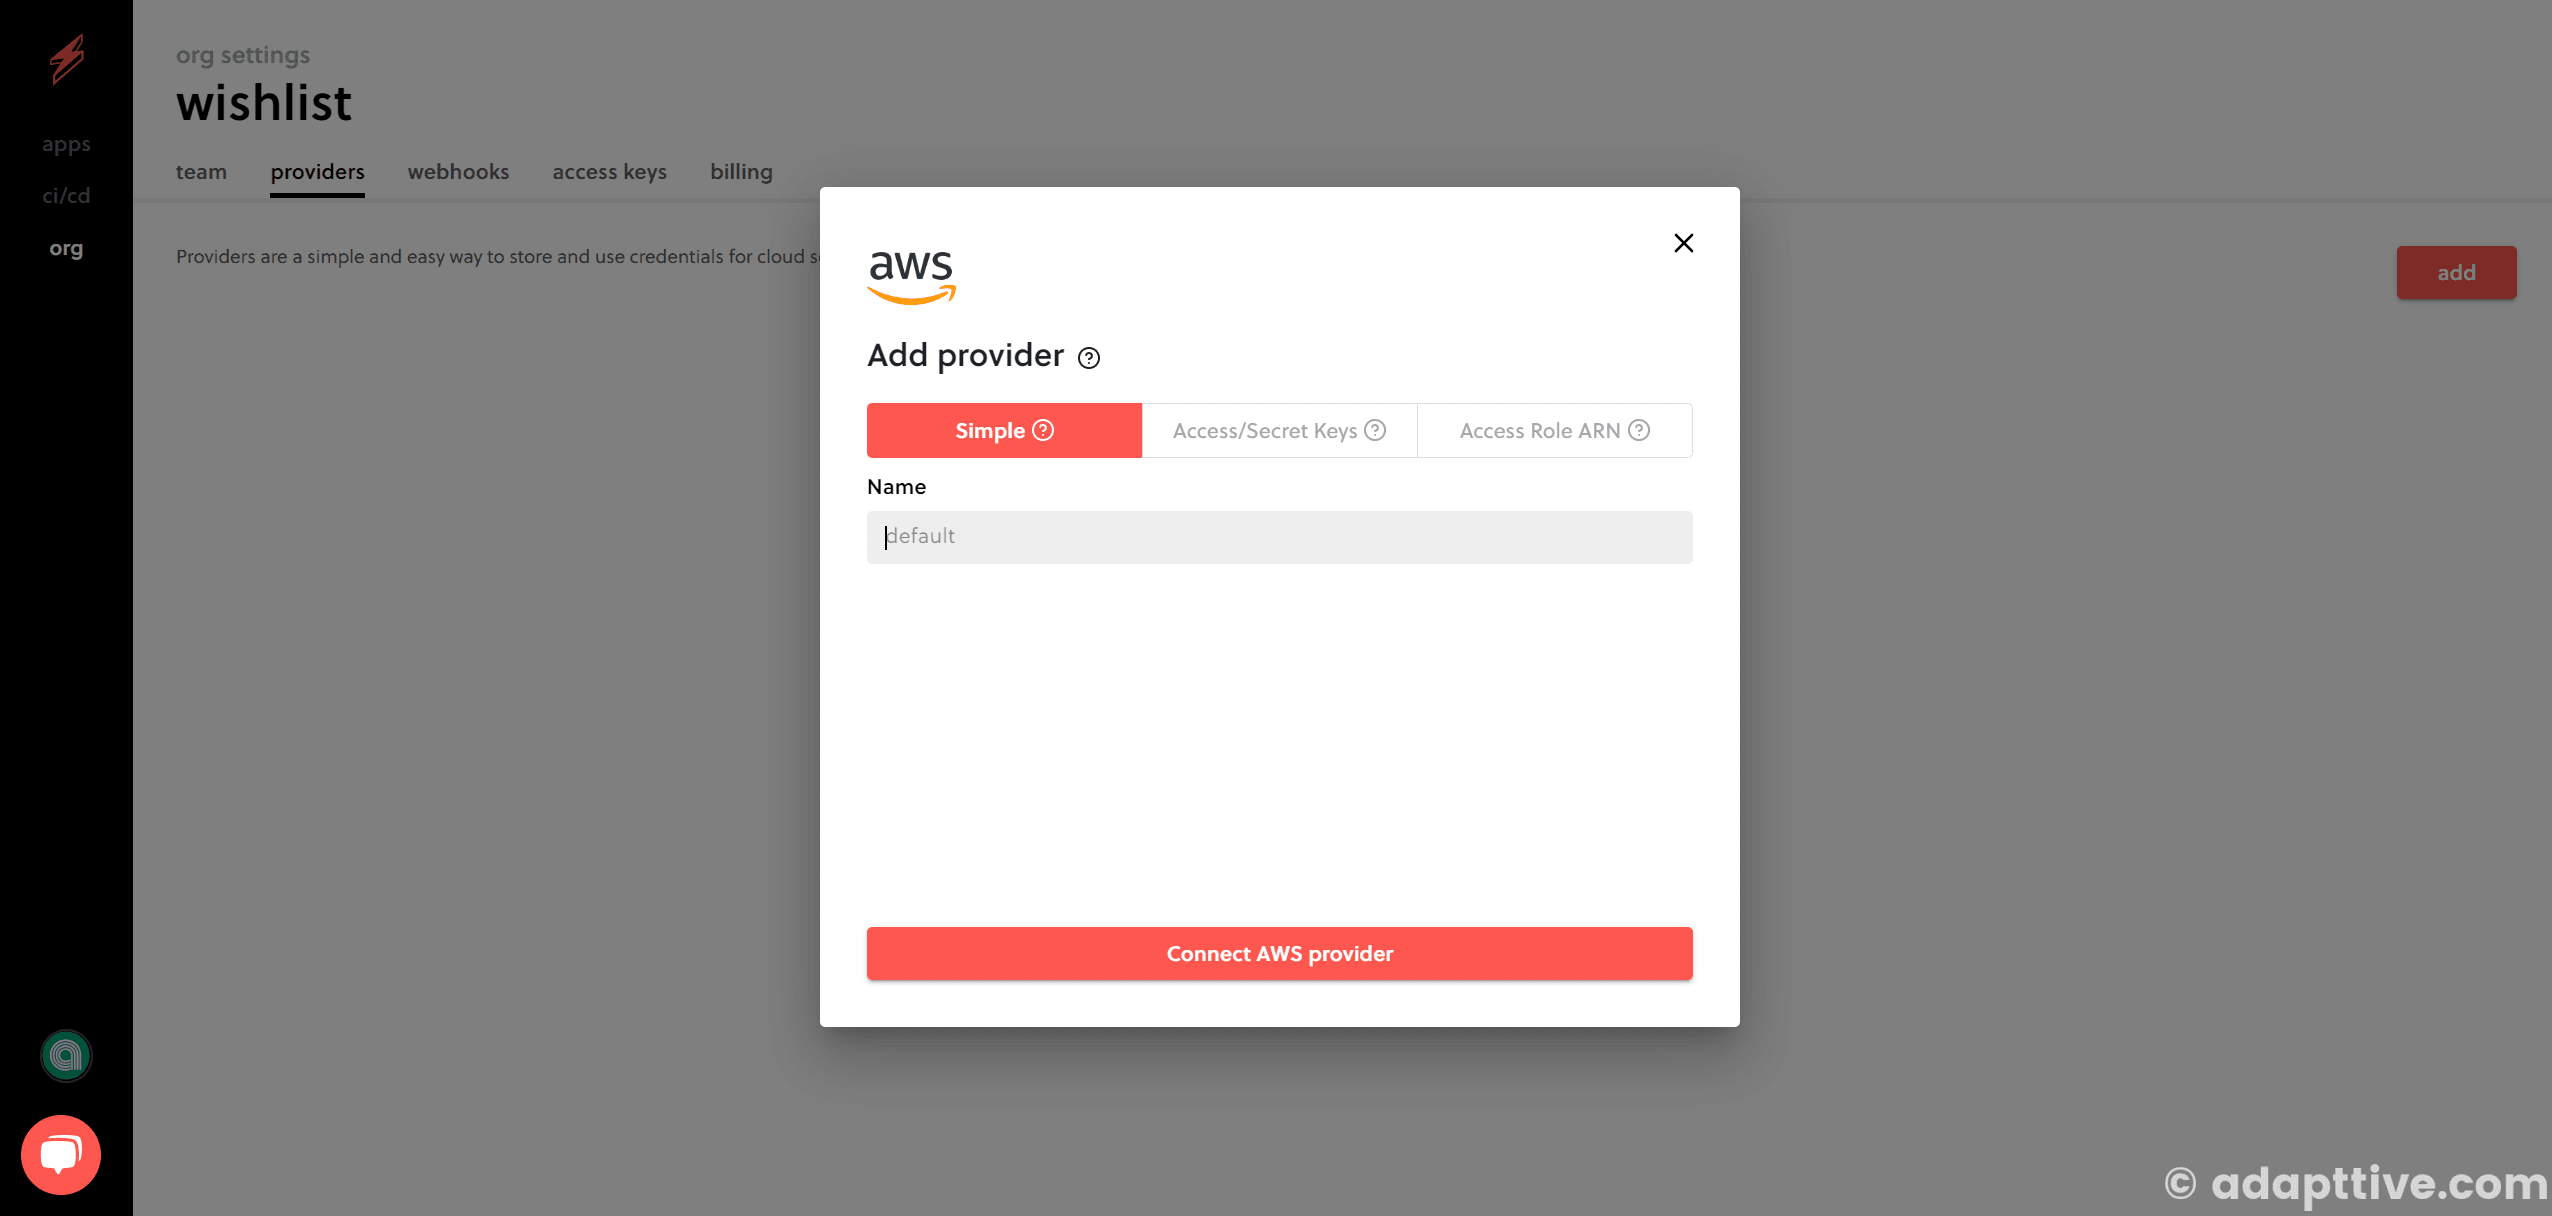
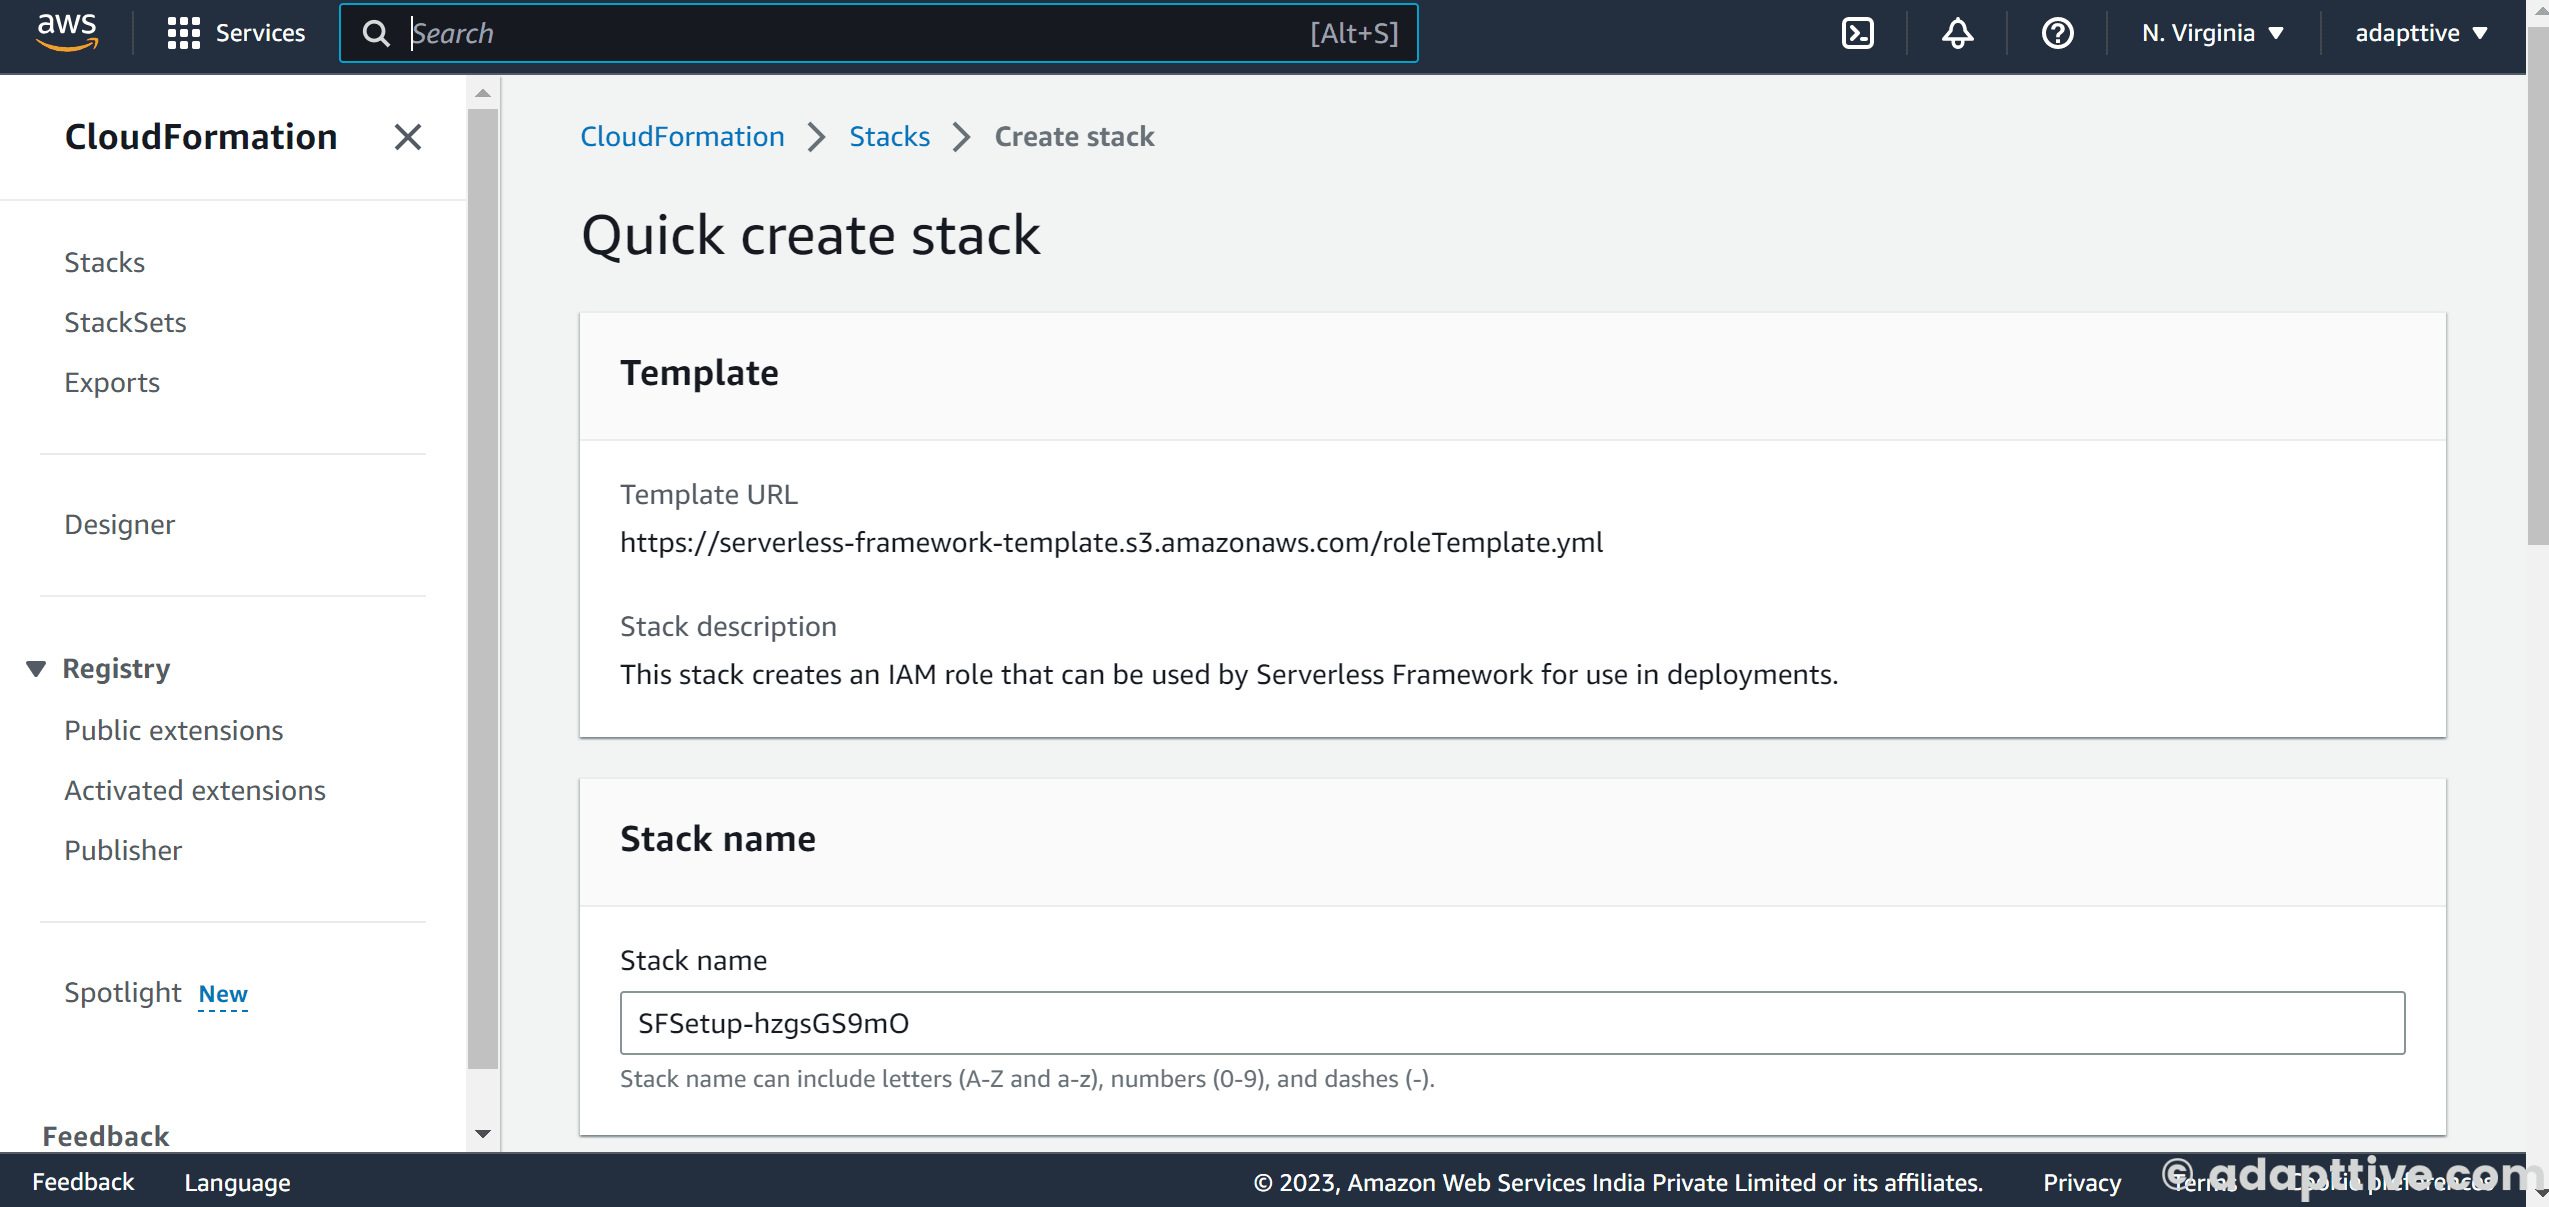
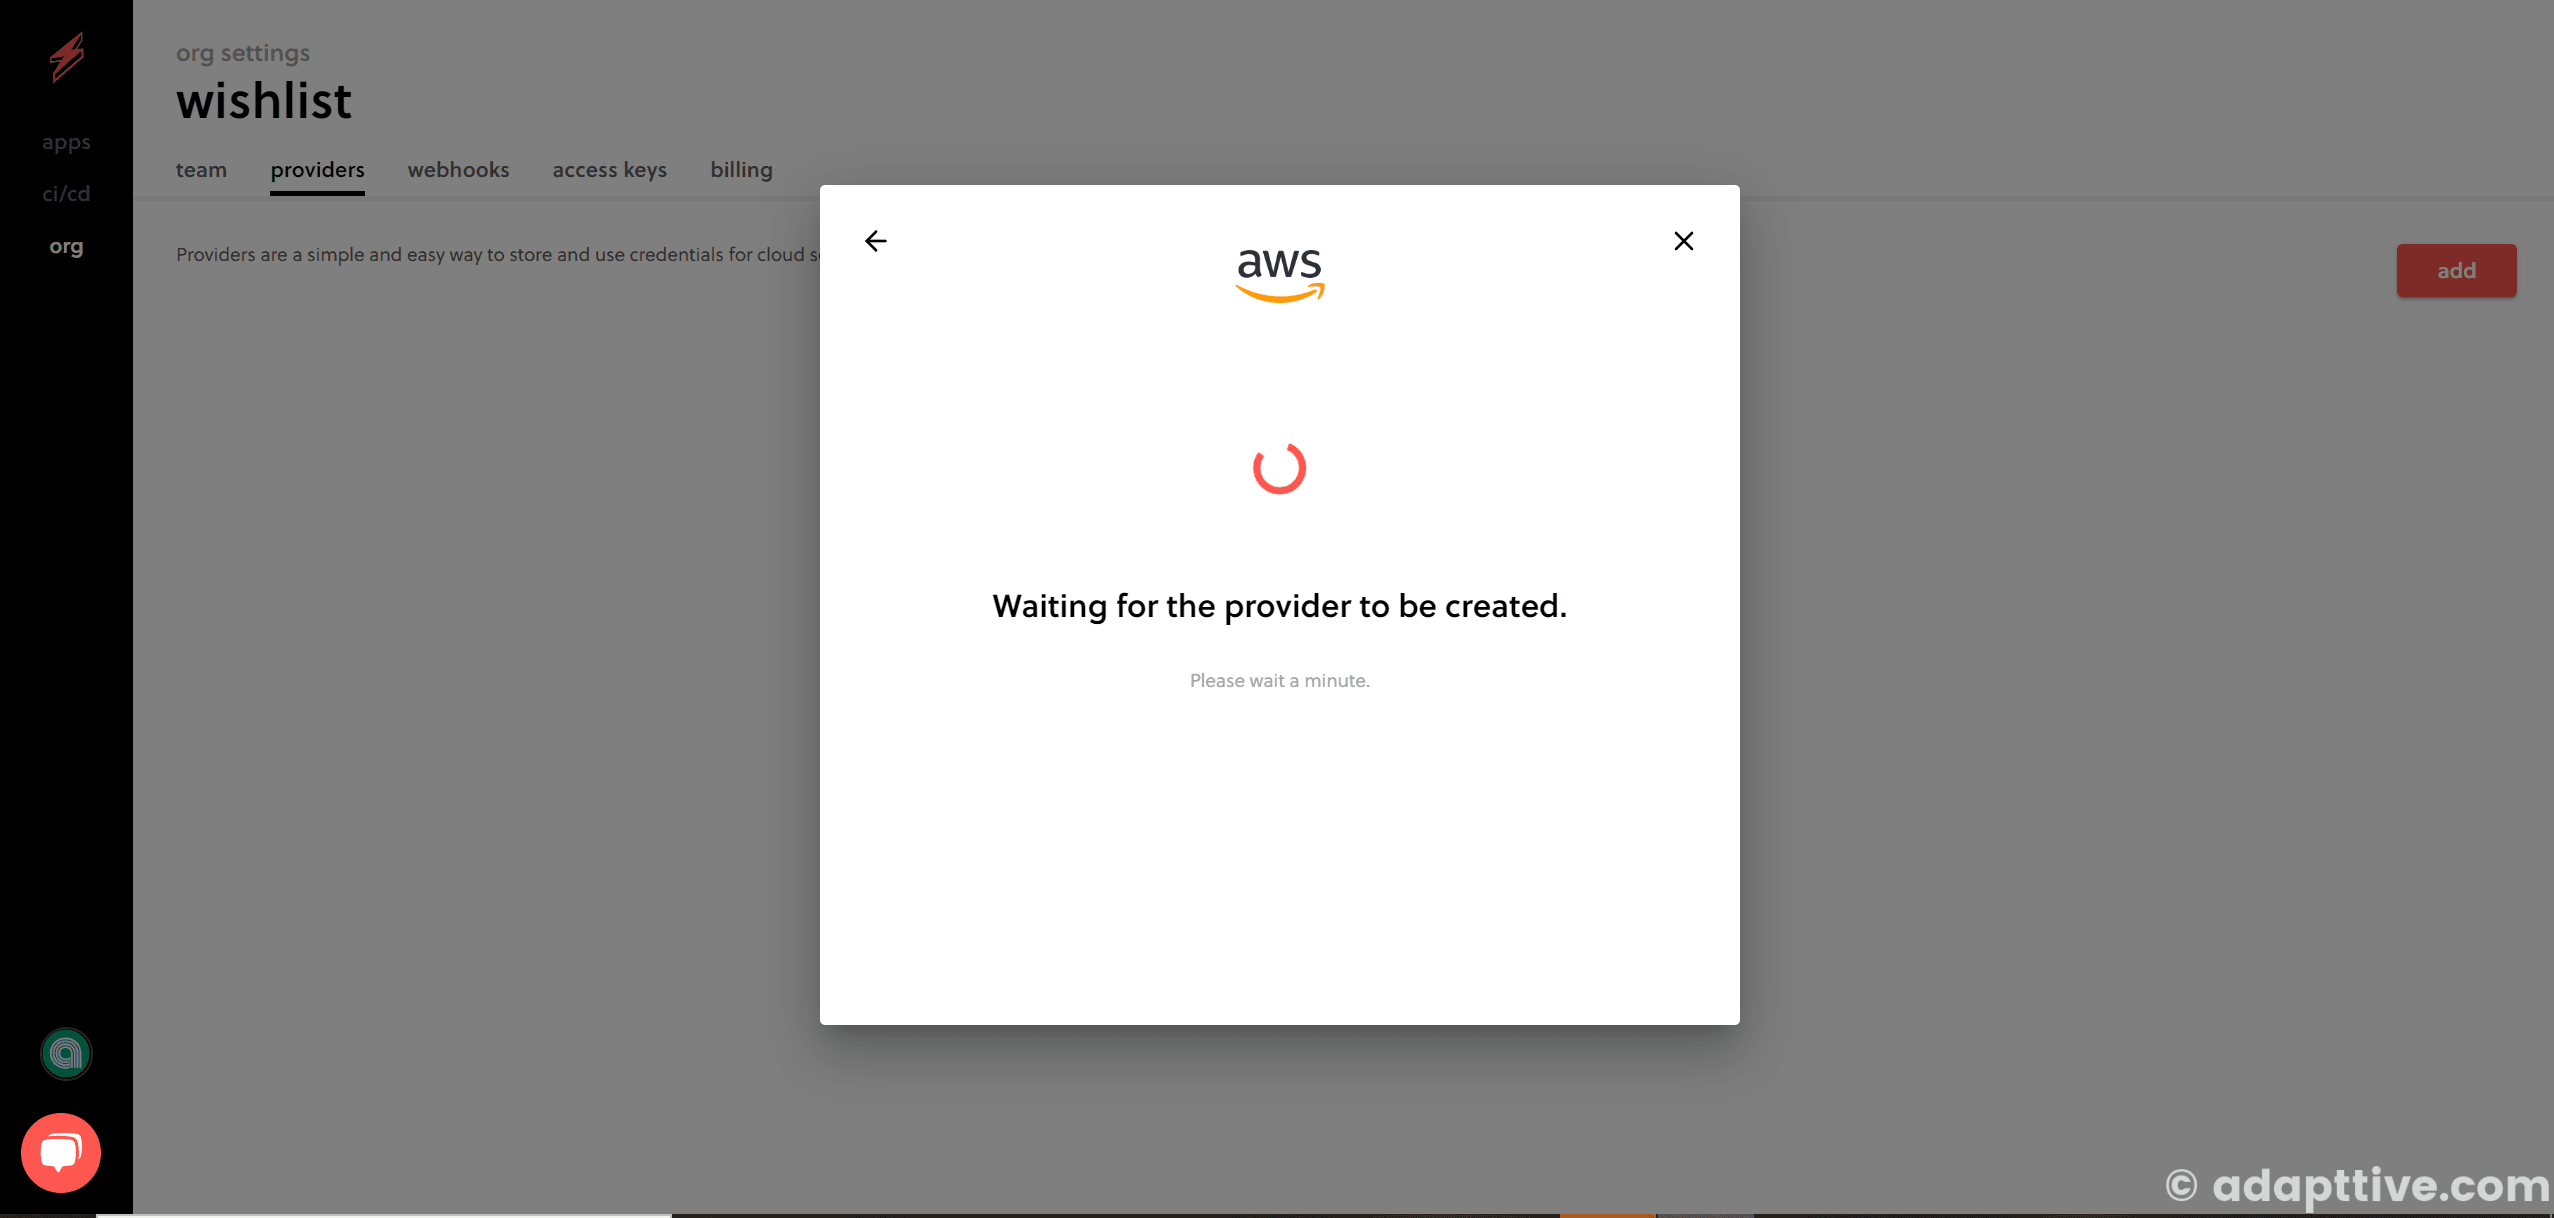
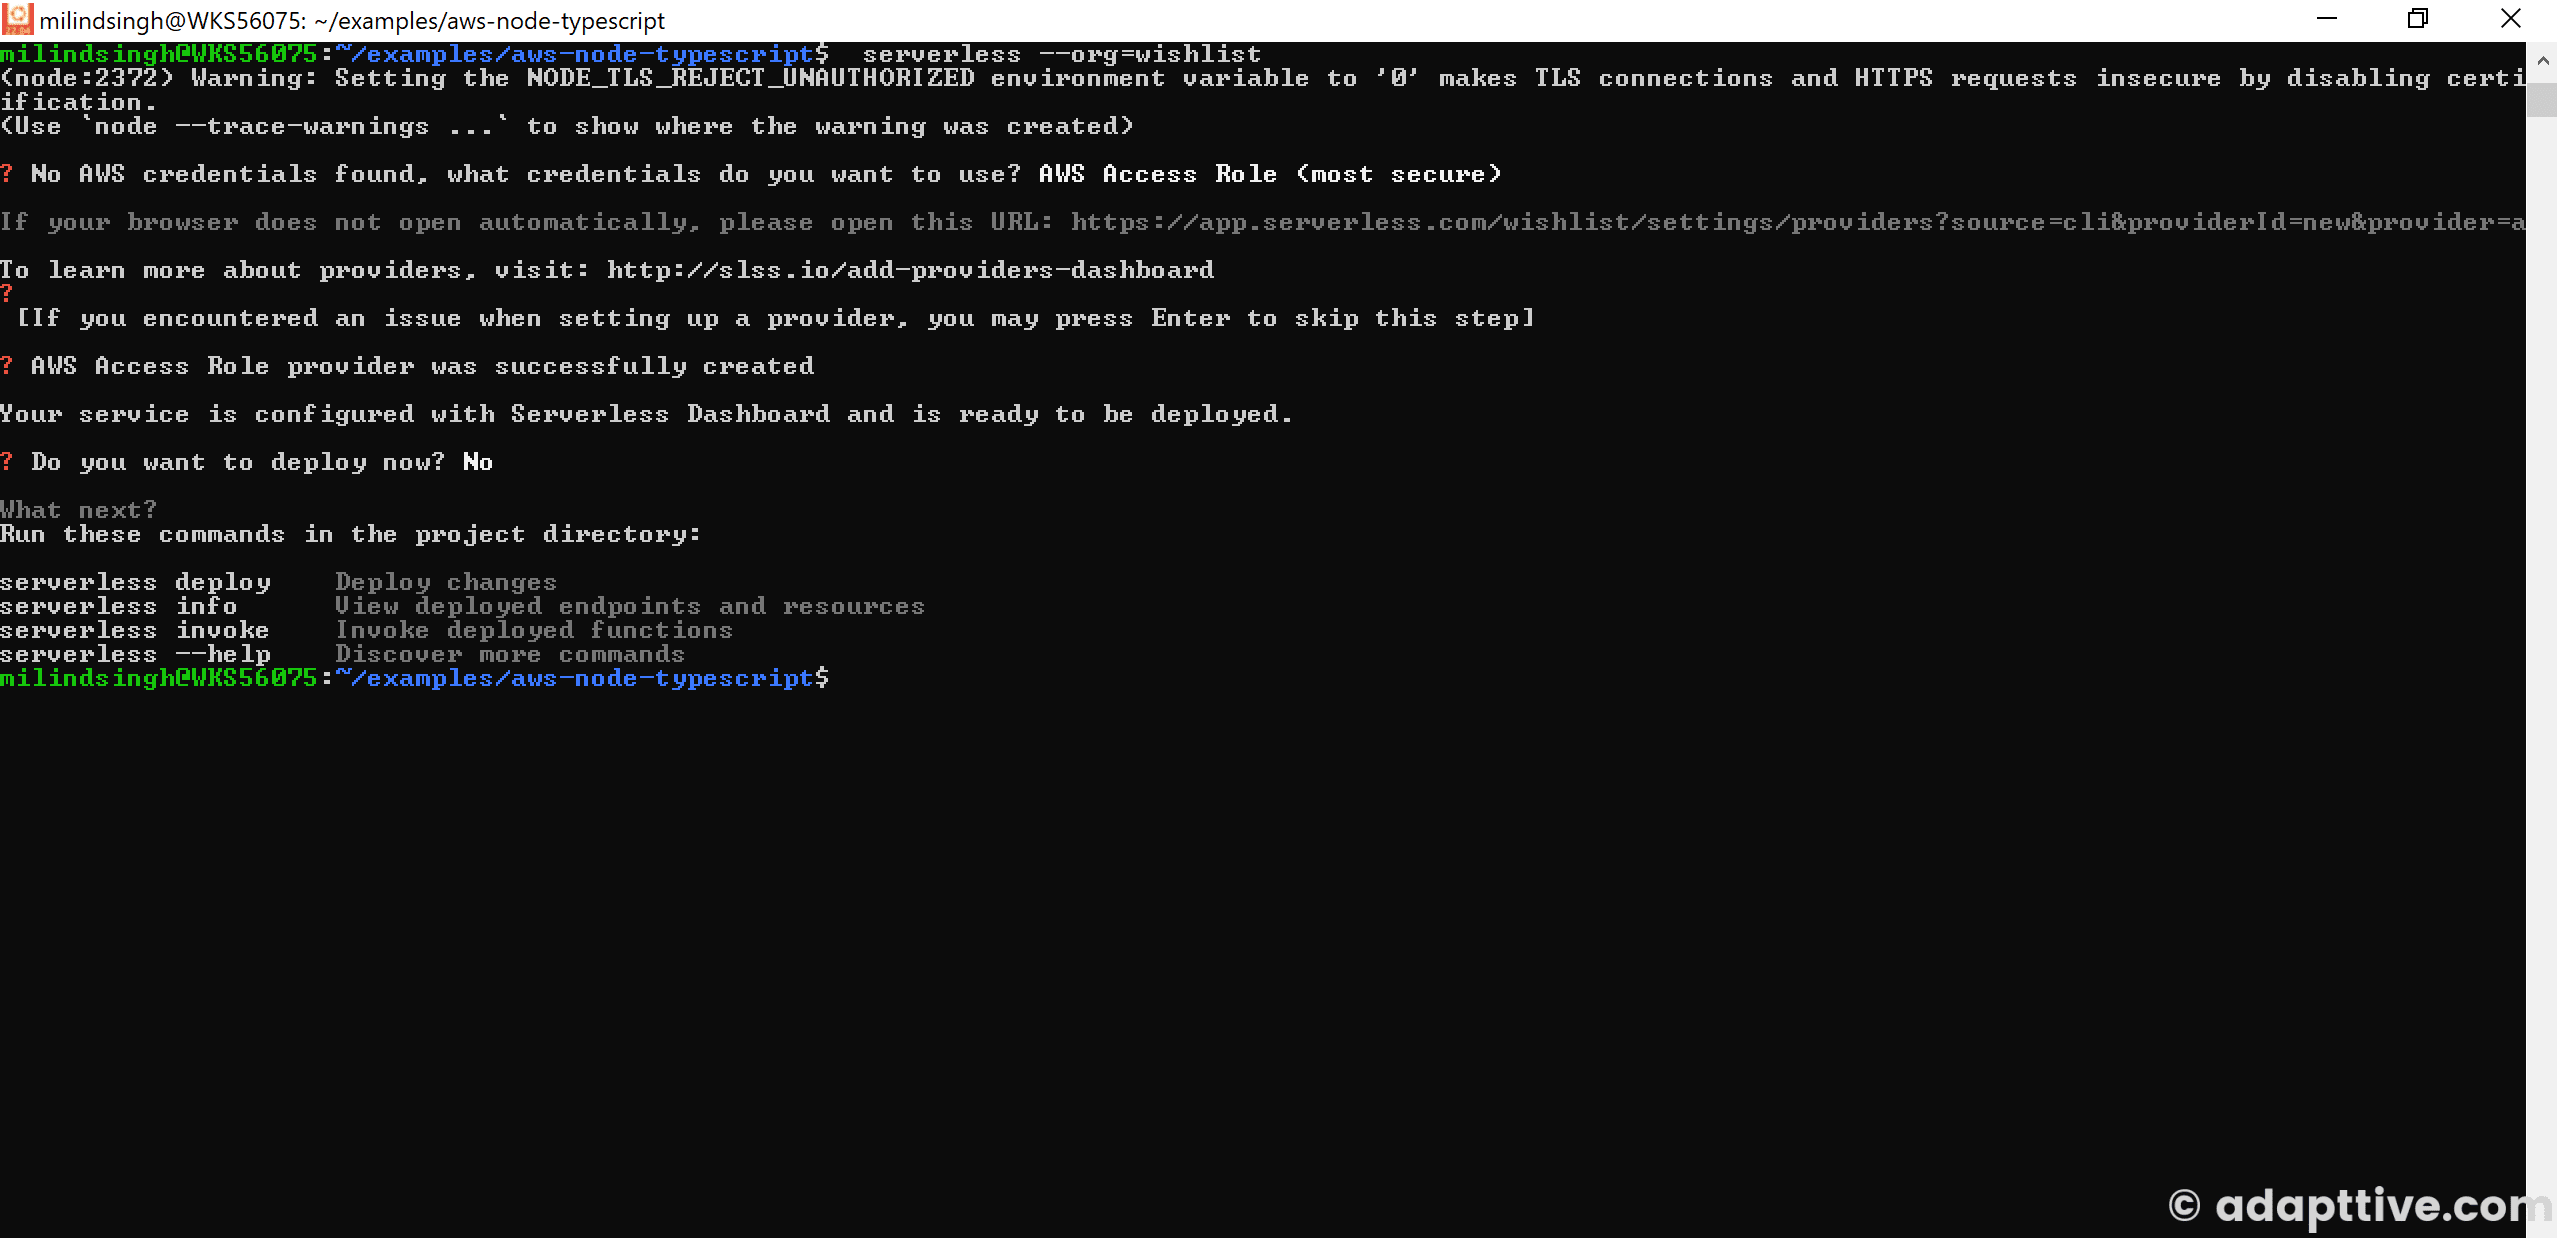
- Continue to the next step on
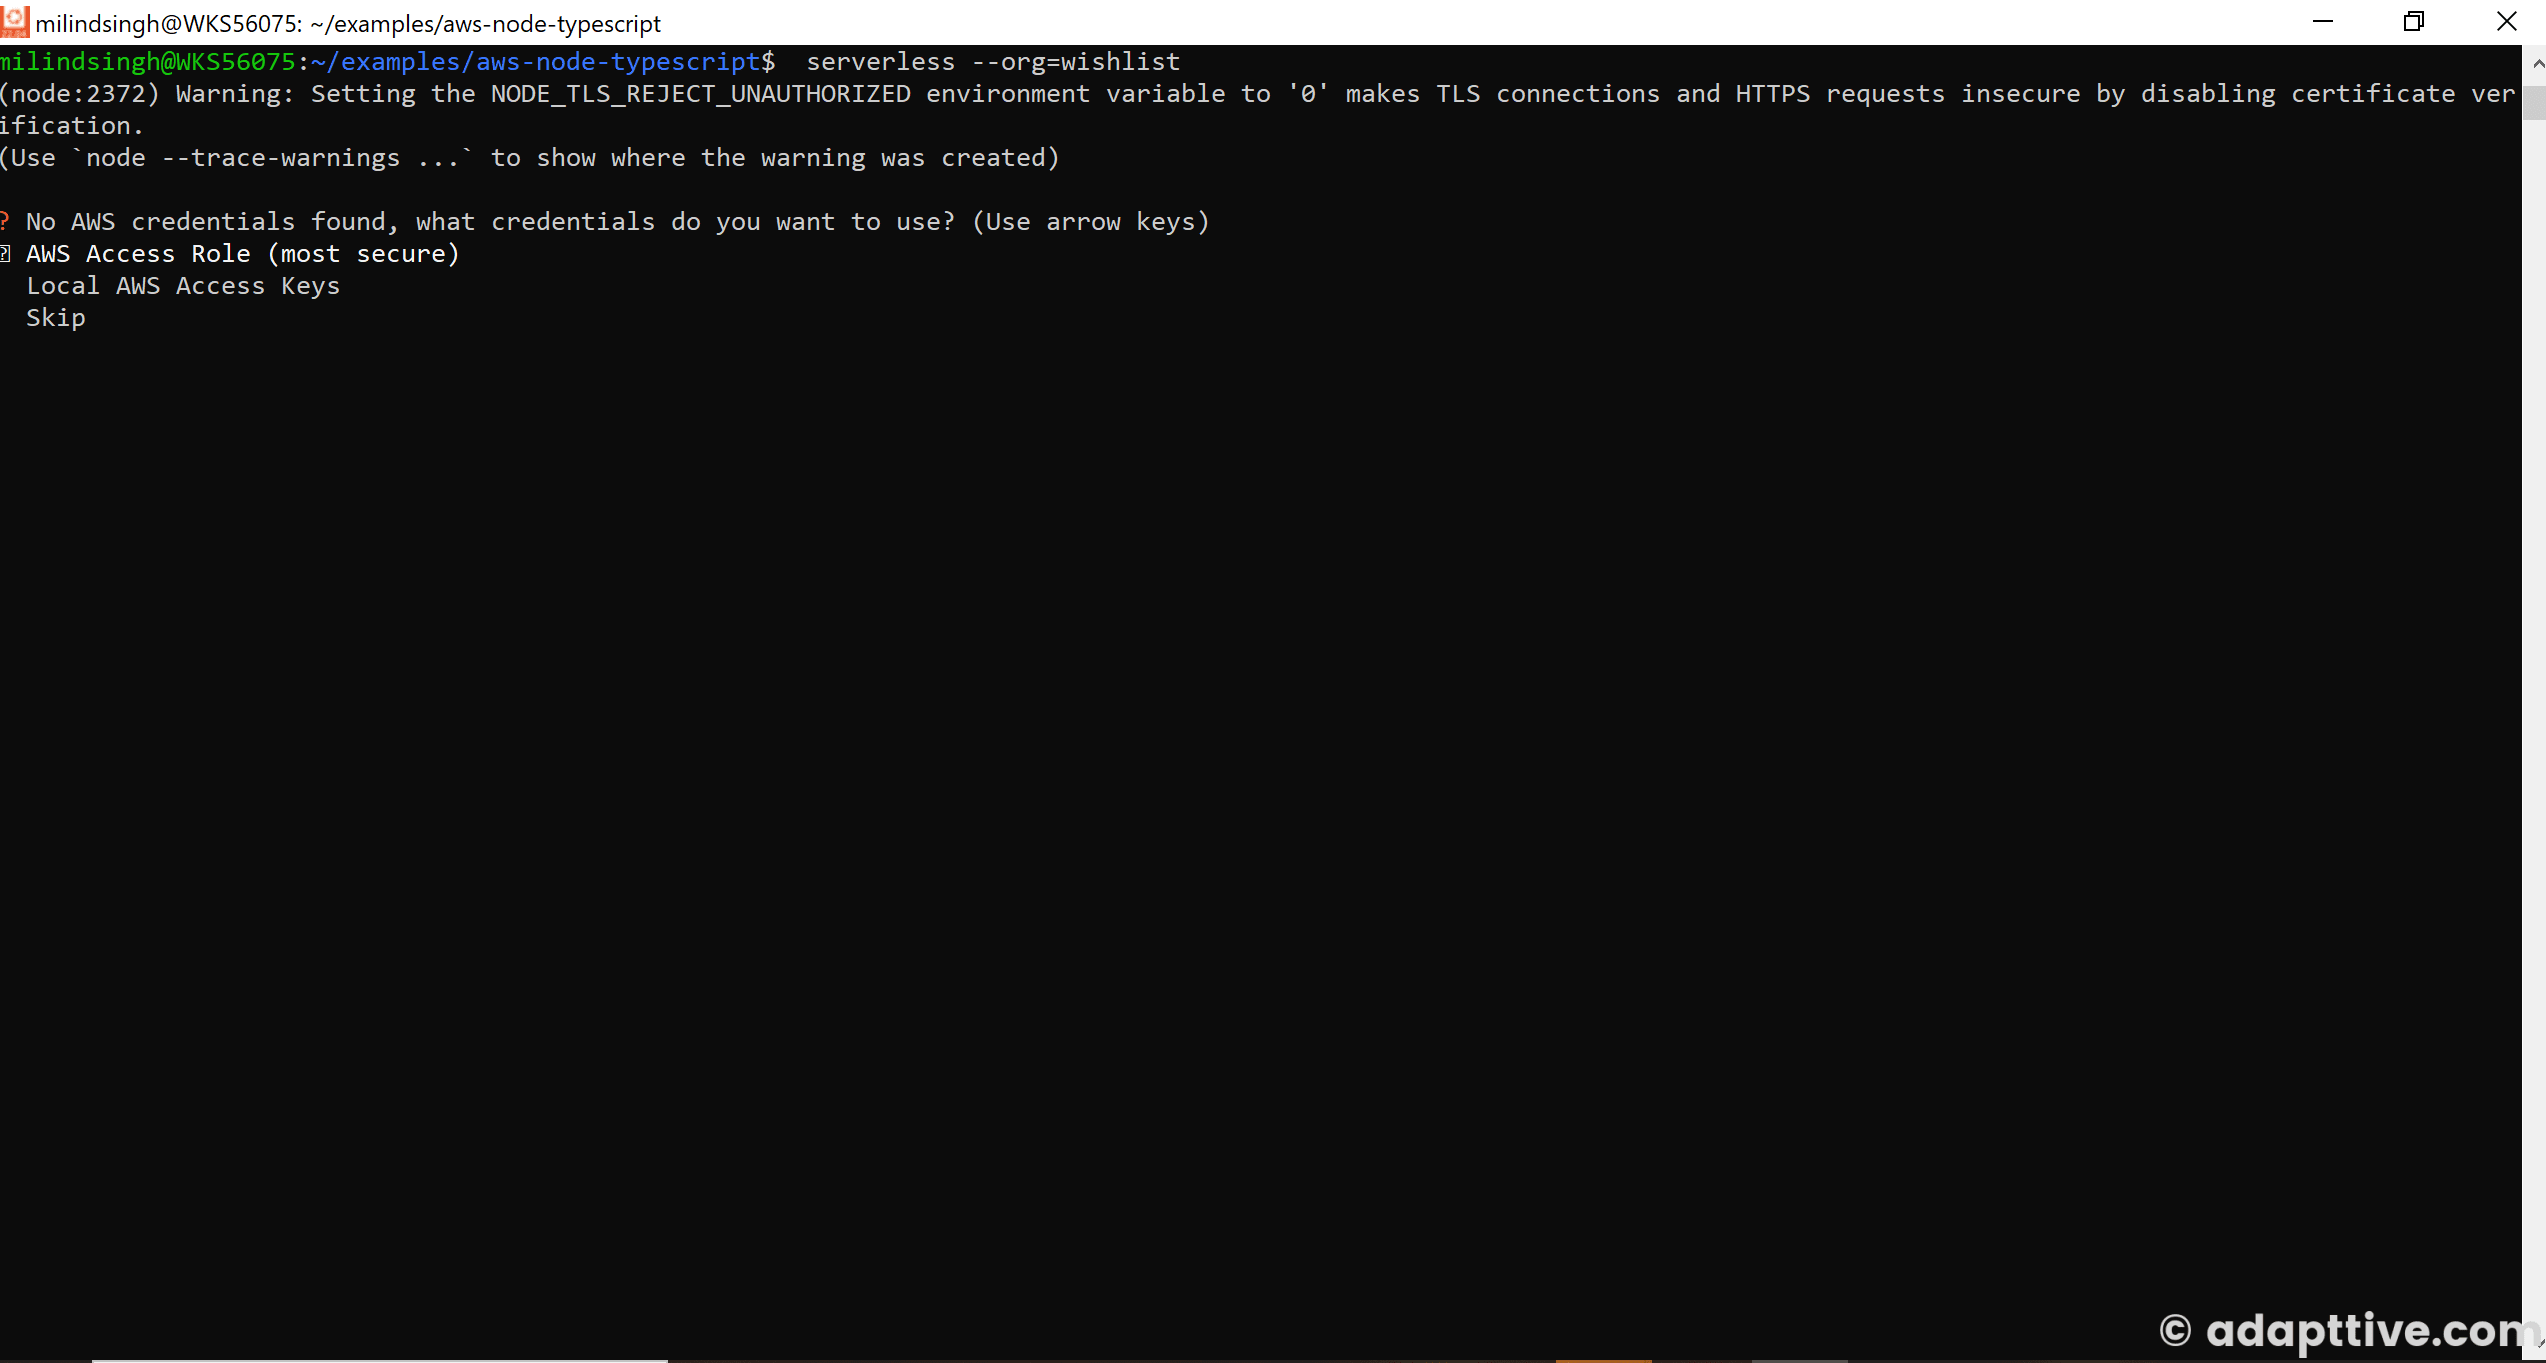
cliand SelectAWS Access Roleand Authorize your AWS account in your Serverless Dashboard.
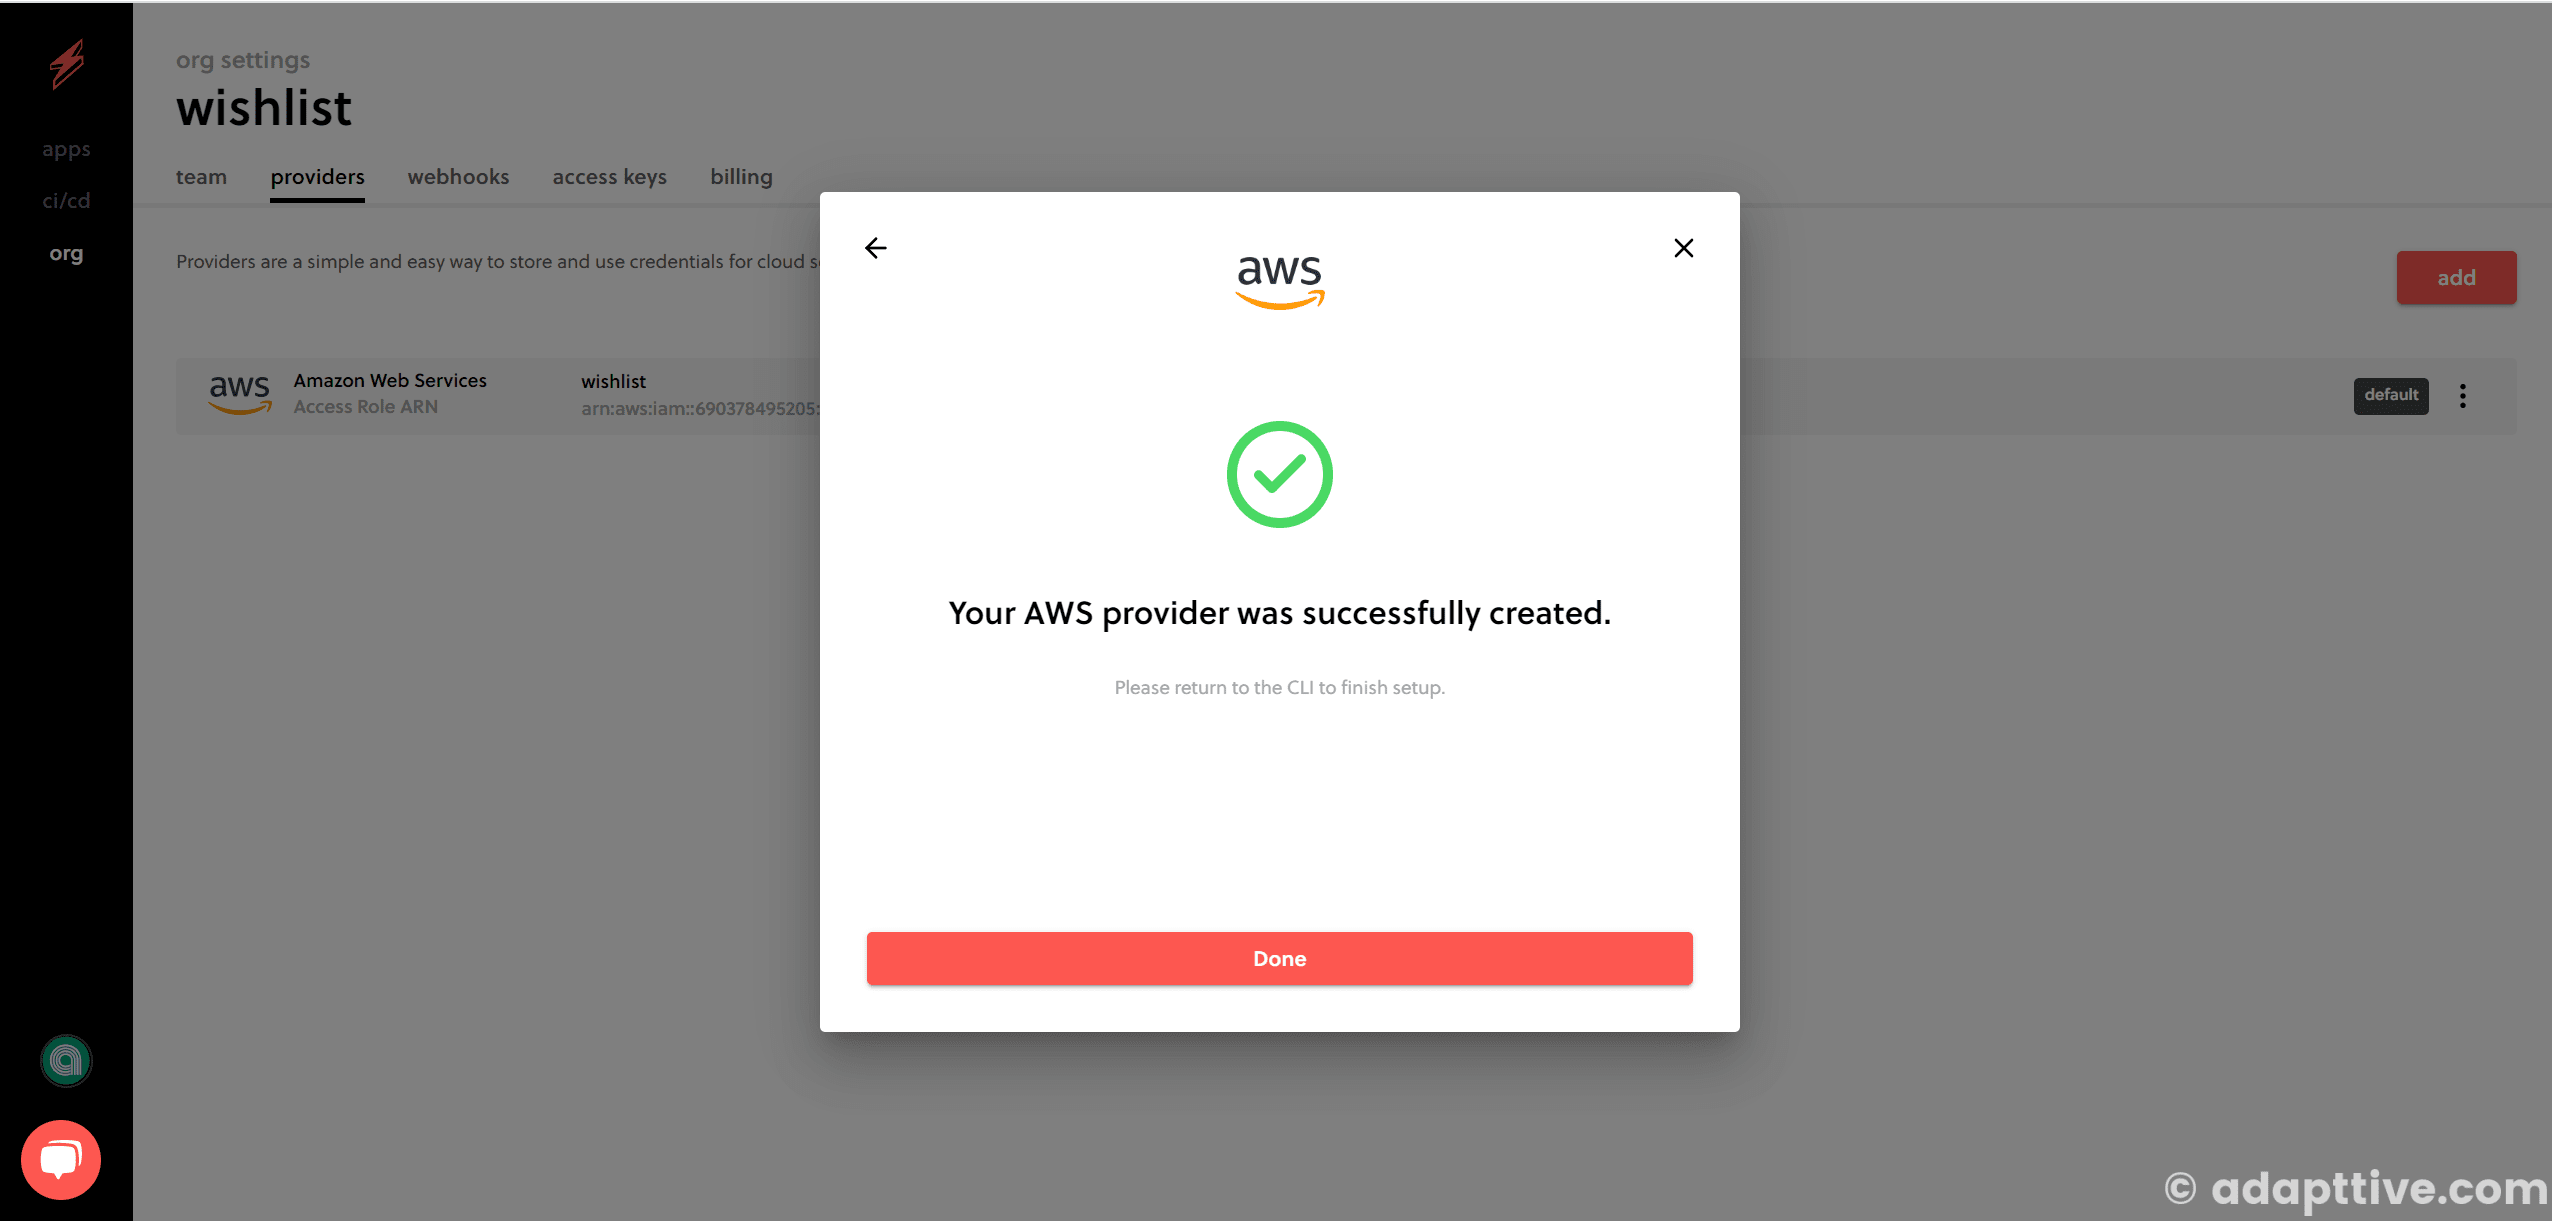
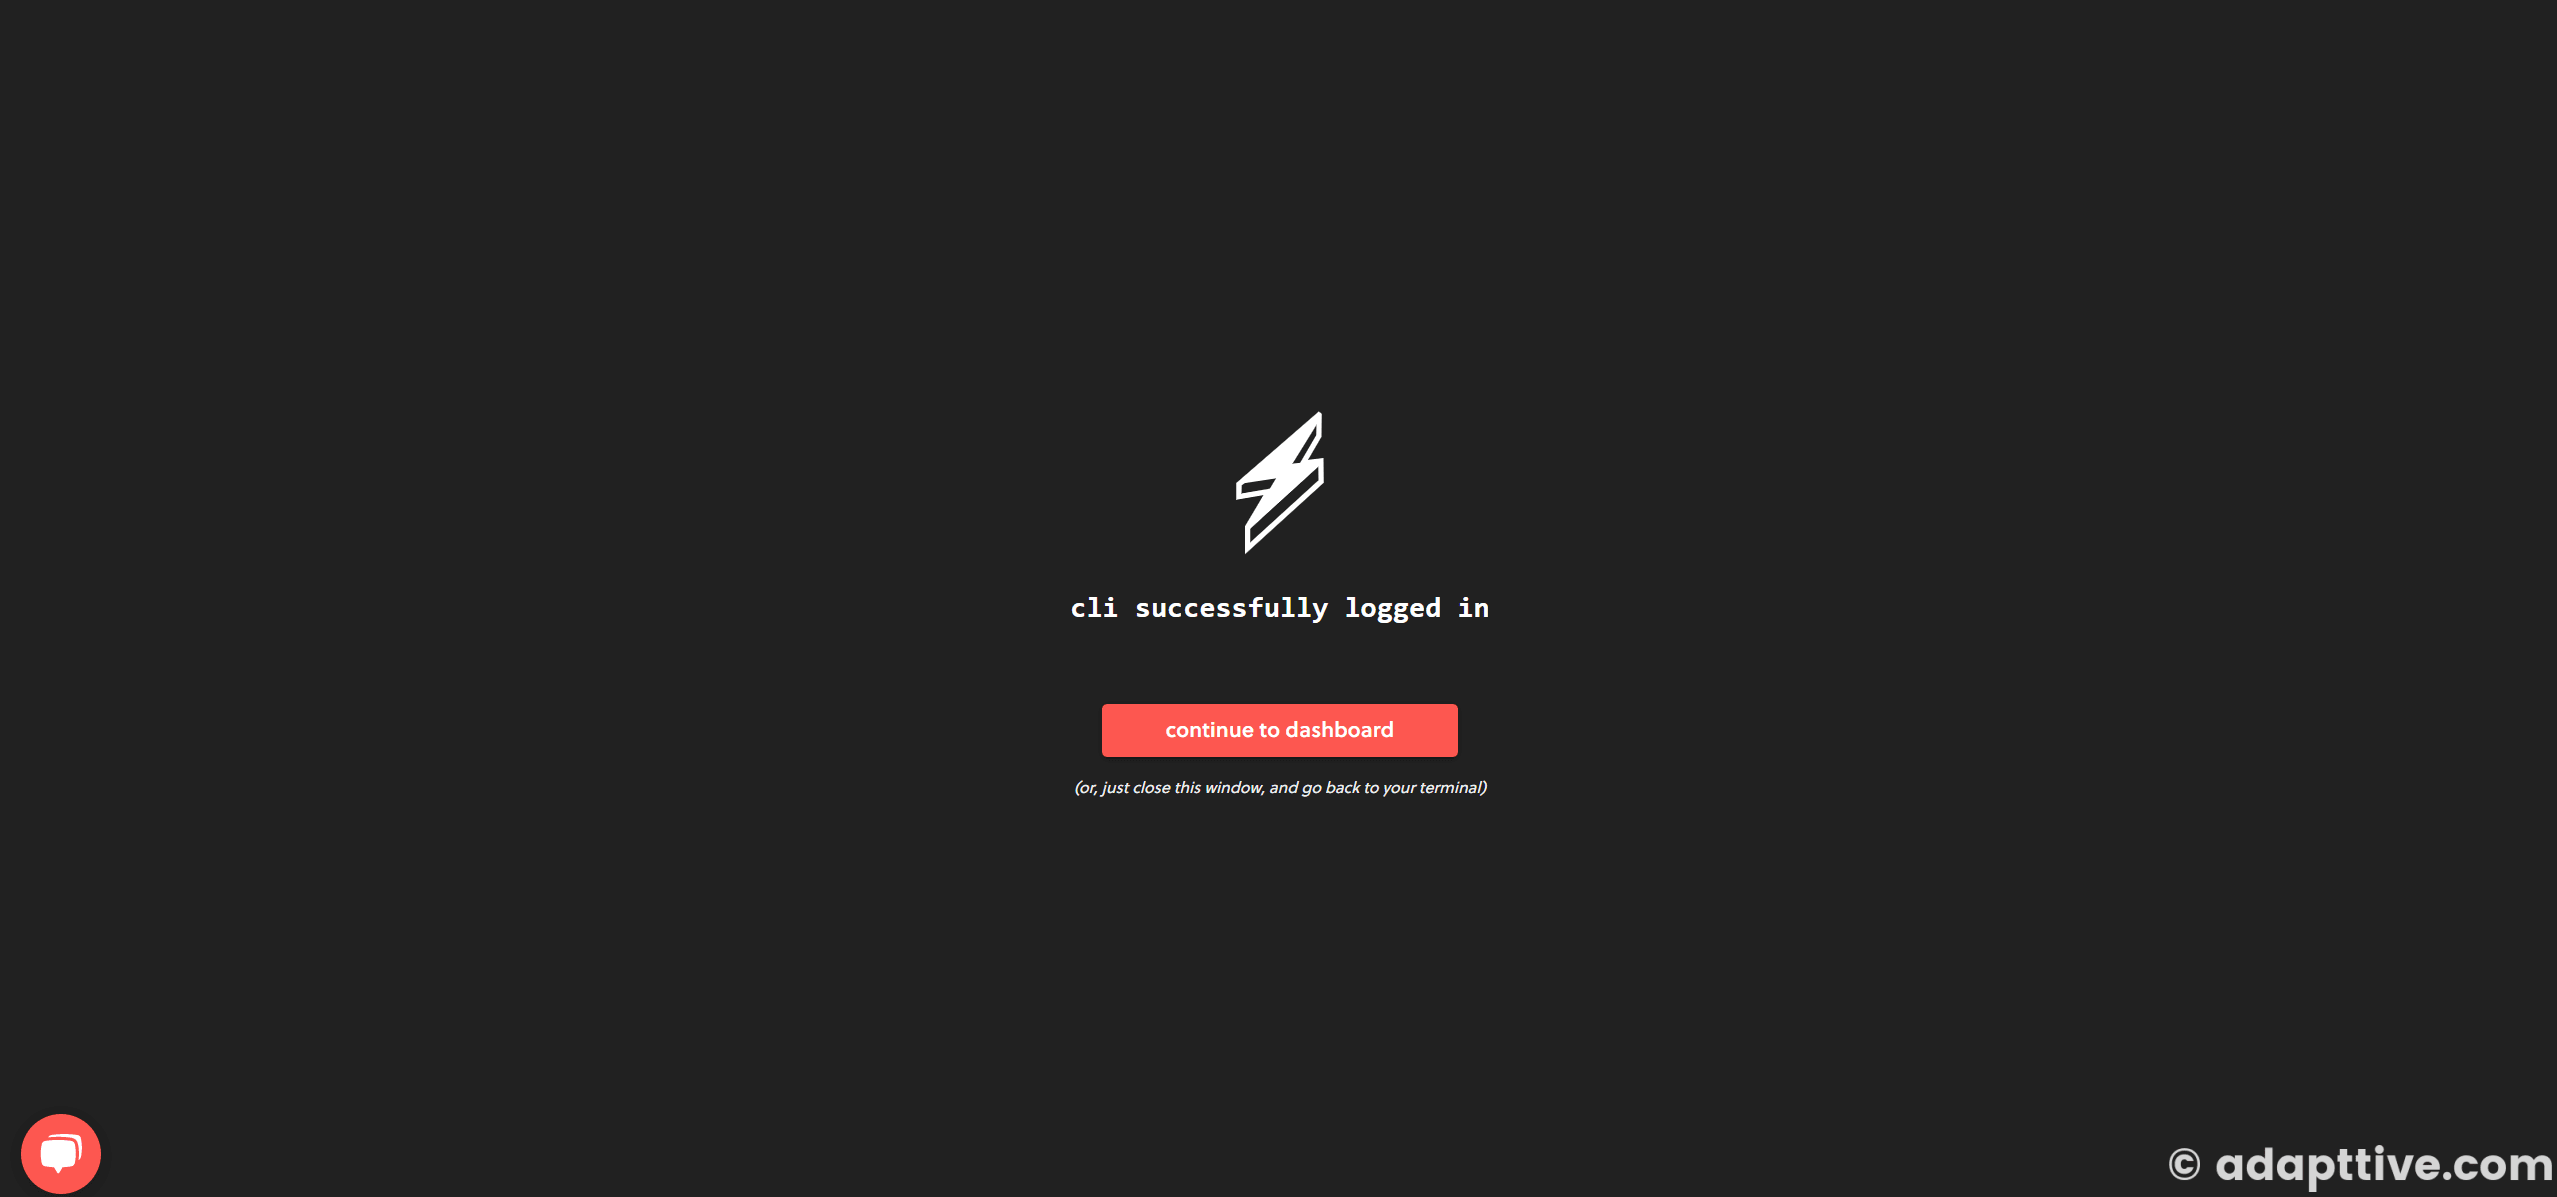
- Finally, you will see success on
clias below:
-
Local Deployment
After all setup, you can finally run the below command to deploy
# to deploy default set env
serverless deploy

# to deploy <stage> env
serverless deploy --stage <stage>

# to deploy production env
serverless deploy --stage production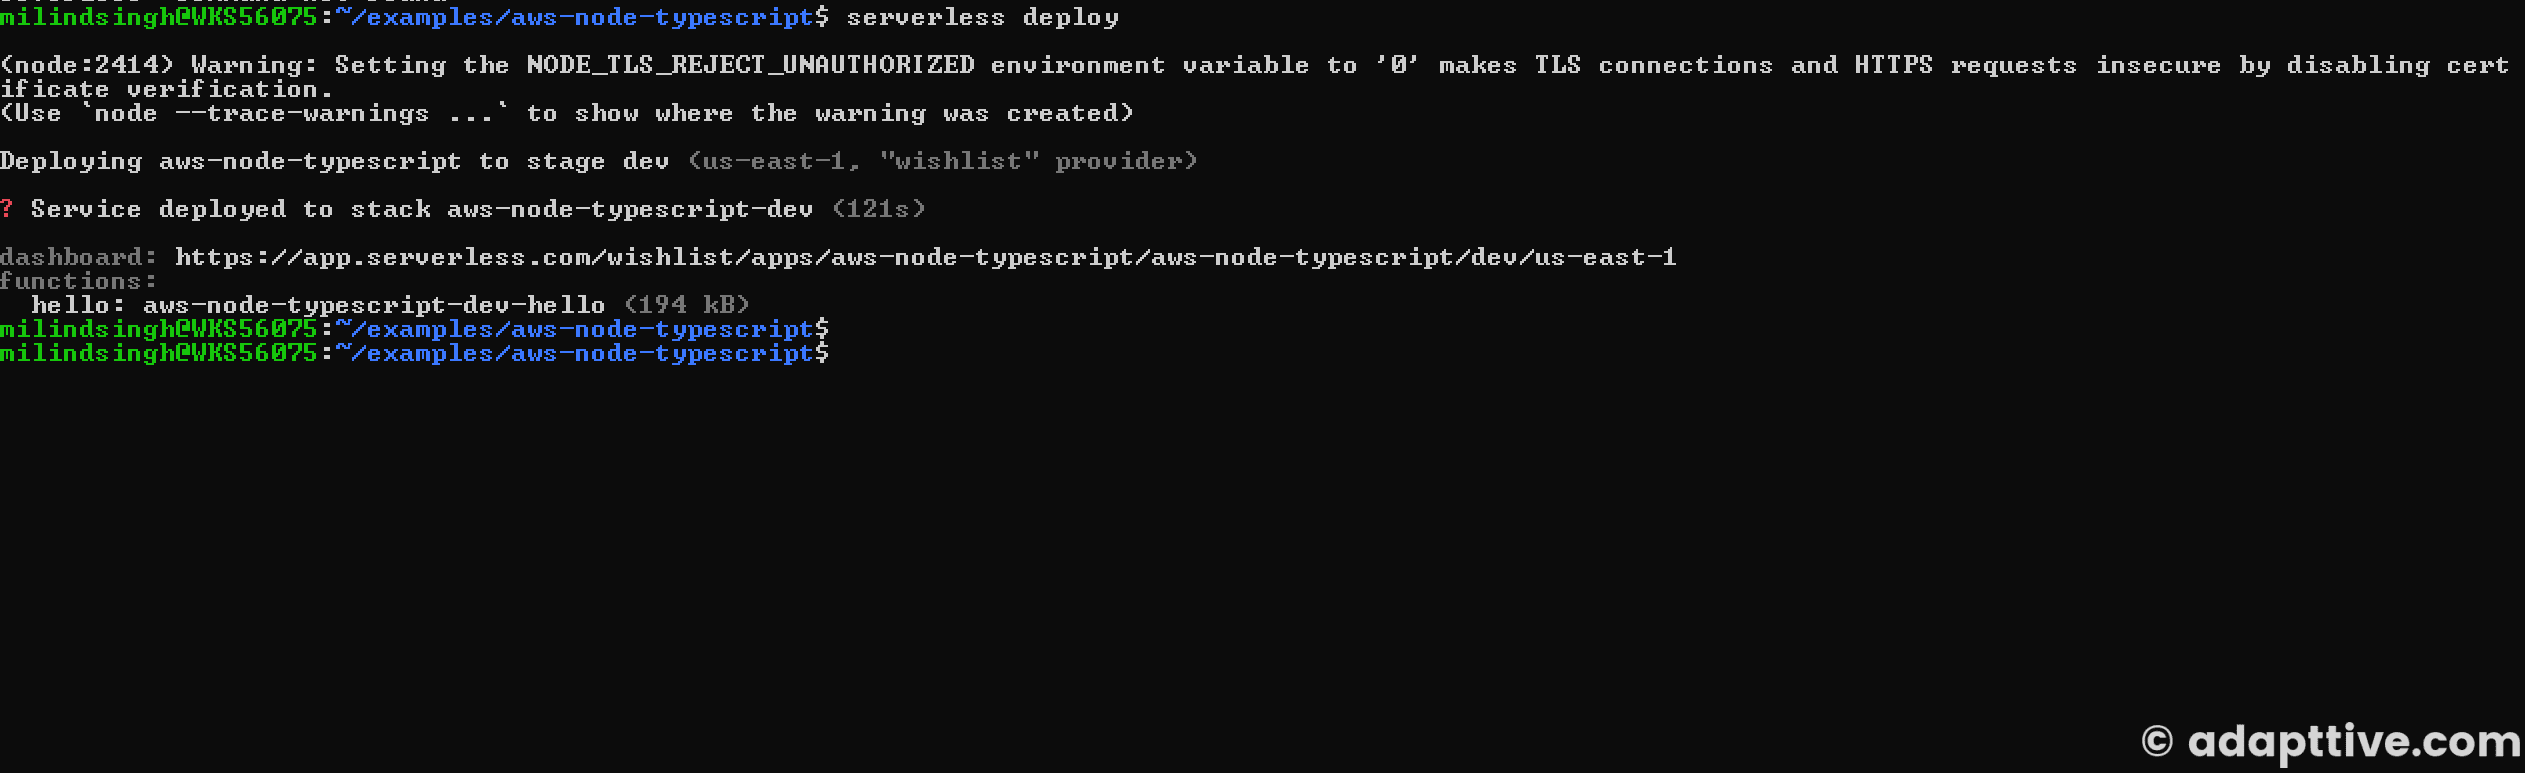
You can also remove and free all cloud resources from local by using the below command:
serverless remove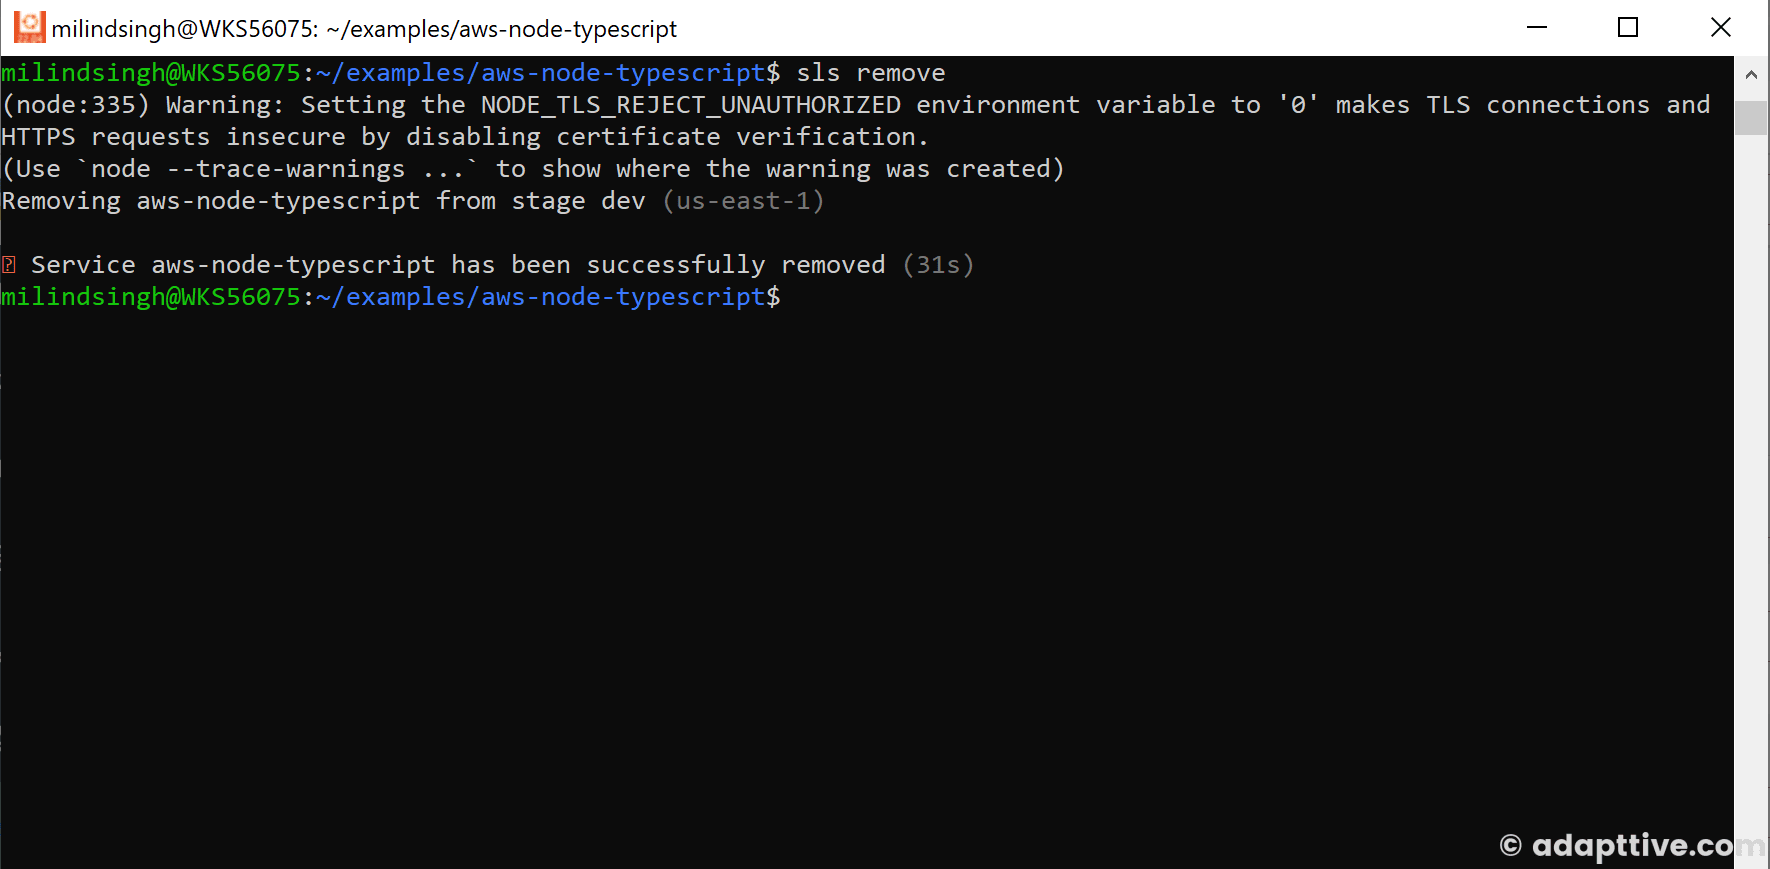
-
GitHub Action Deployment
serverless/github-action Action wraps the Serverless Framework to enable common Serverless commands.
- To deploy via
serverless/github-actionyou need either theSERVERLESS_ACCESS_KEYfrom step 1, or you can directly deploy to AWS usingAWS_ACCESS_KEY_IDandAWS_SECRET_ACCESS_KEY.
Getting
SERVERLESS_ACCESS_KEY-
To get the
SERVERLESS_ACCESS_KEYgo to Serverless Dashboard -> Org Settings -> Access Keys and add a new key and copy it to use as the GitHub Action access key. The direct URL would be something like: https://app.serverless.com/your-username/settings/accessKeys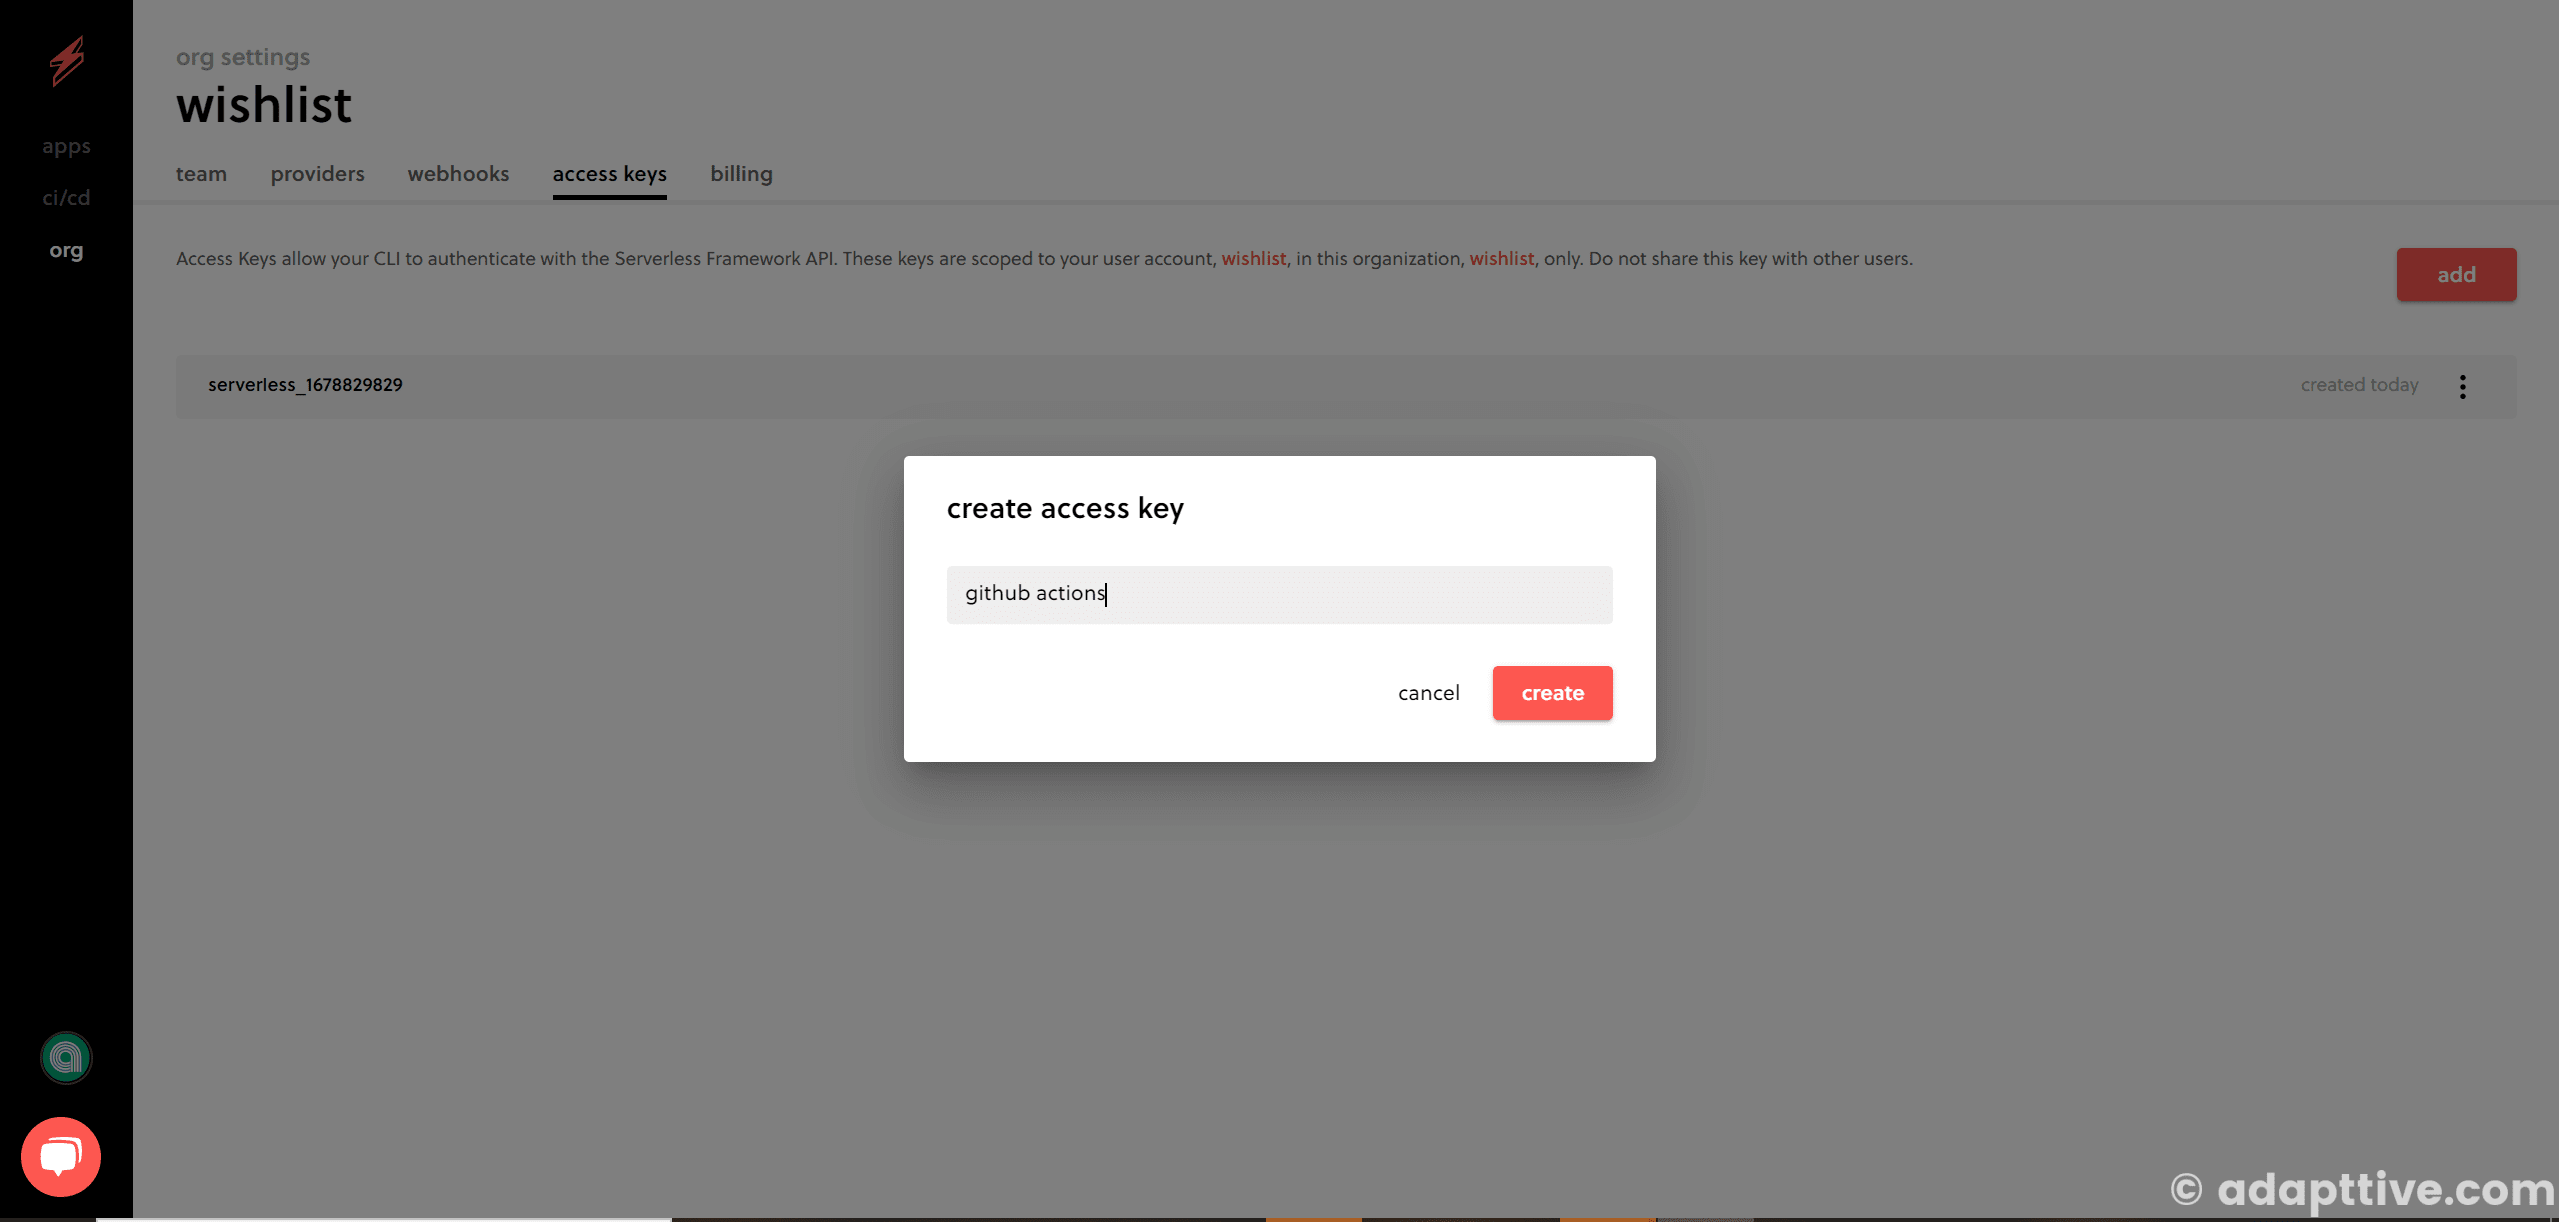
Getting
AWS_ACCESS_KEY_IDandAWS_SECRET_ACCESS_KEY-
Or you can directly deploy to AWS from GitHub Action using
AWS_ACCESS_KEY_IDandAWS_SECRET_ACCESS_KEY, to get these secrets go to AWS Console and create a user. The path is Security credentials (in upper-right corner menu) -> Users.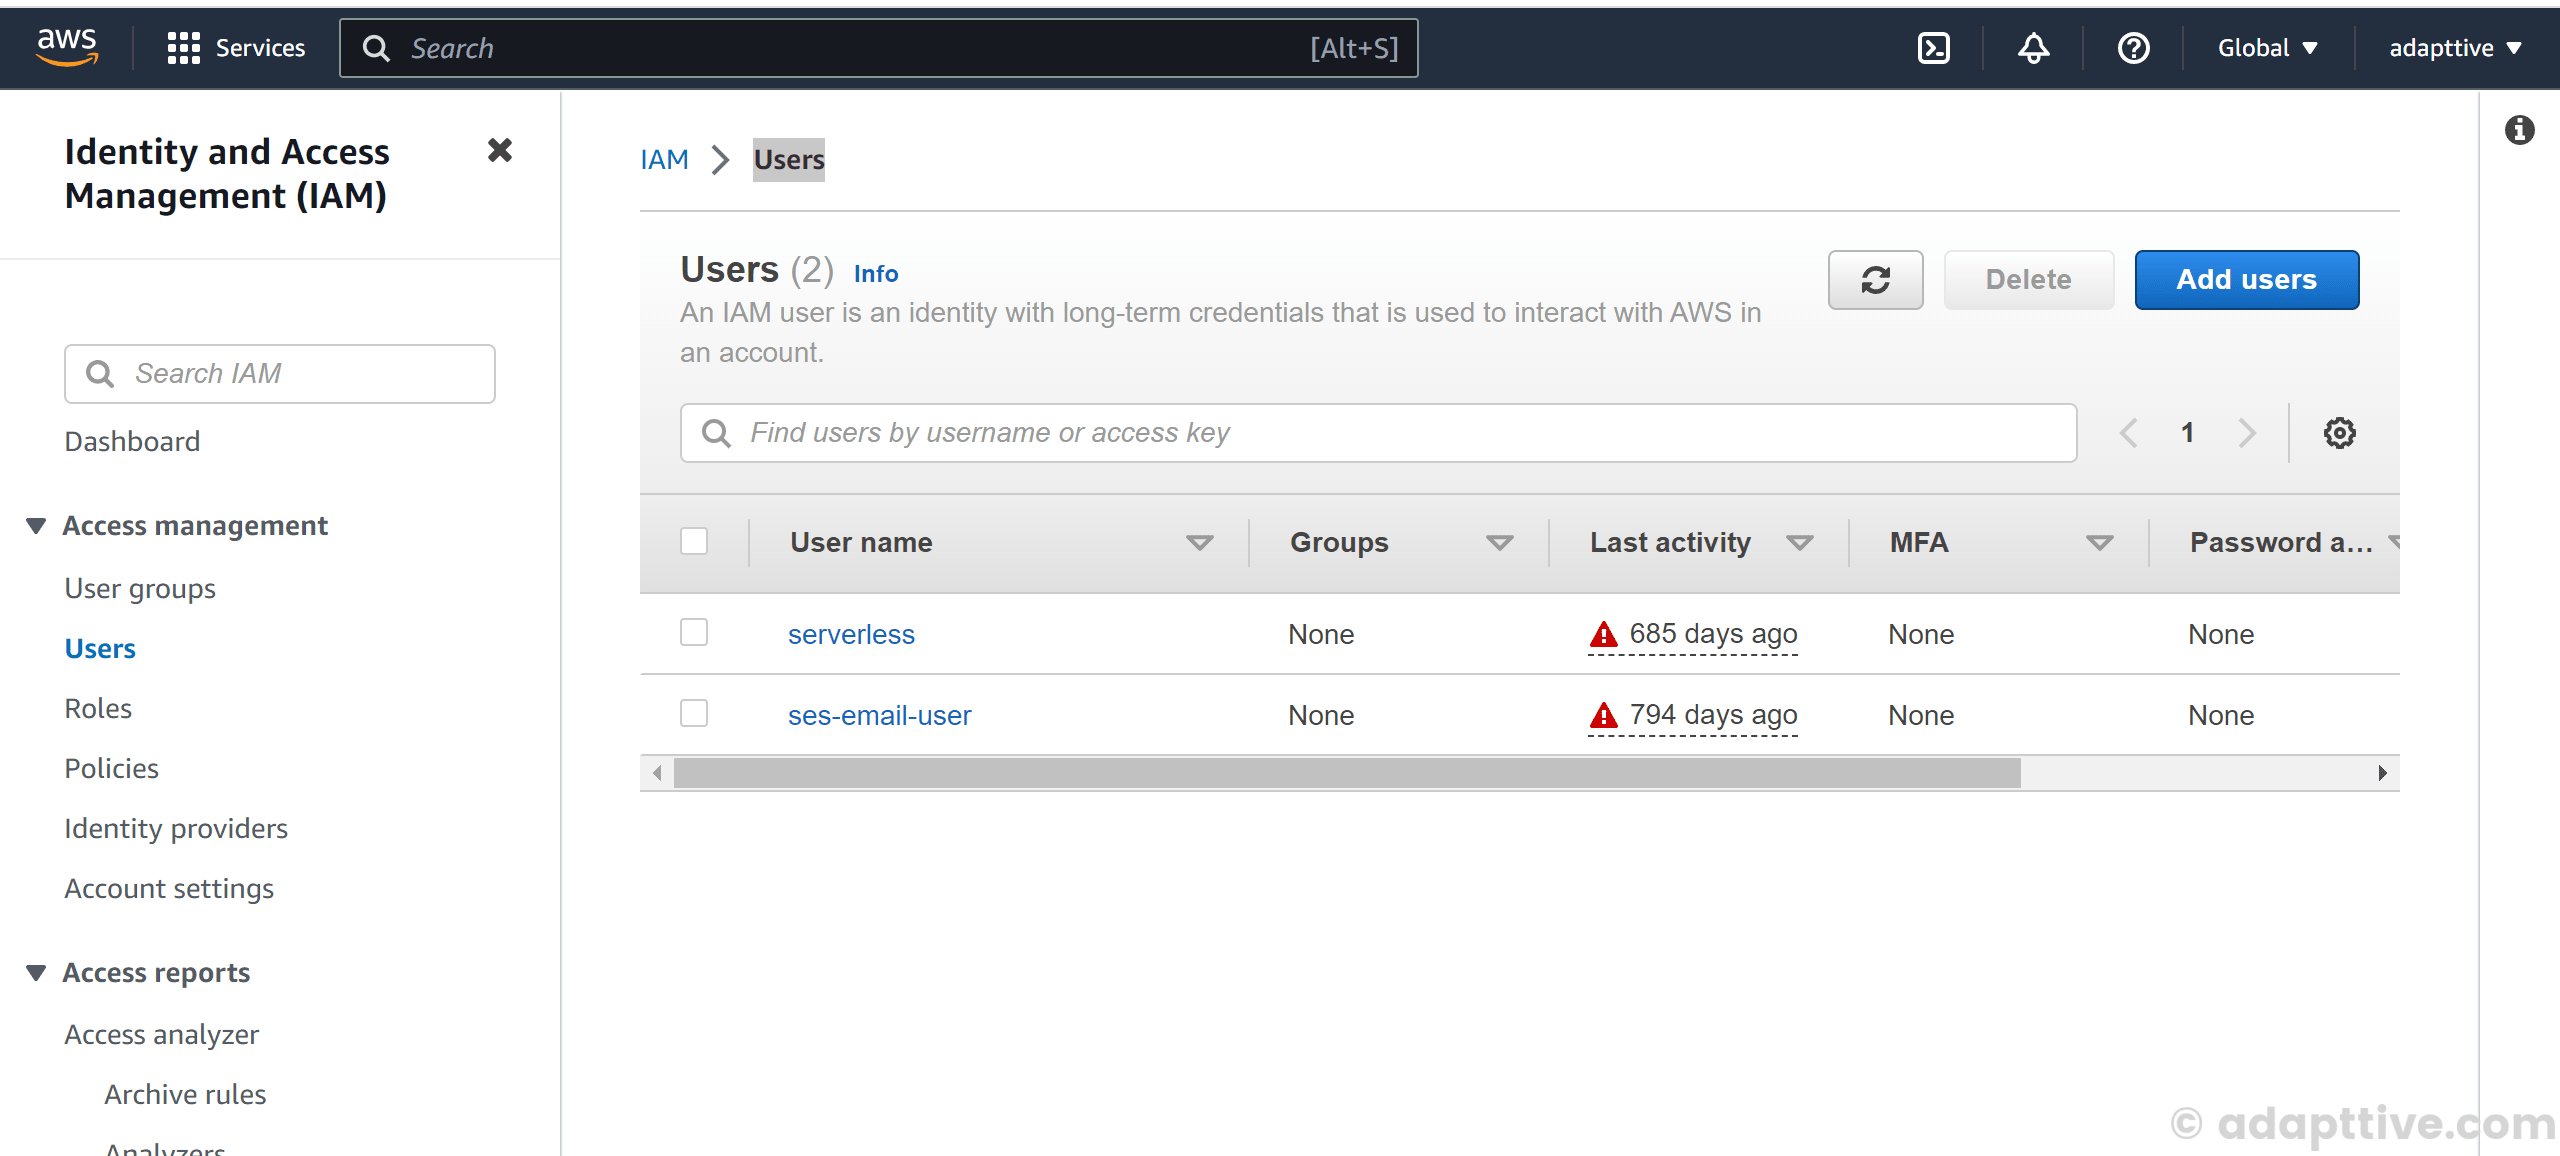
-
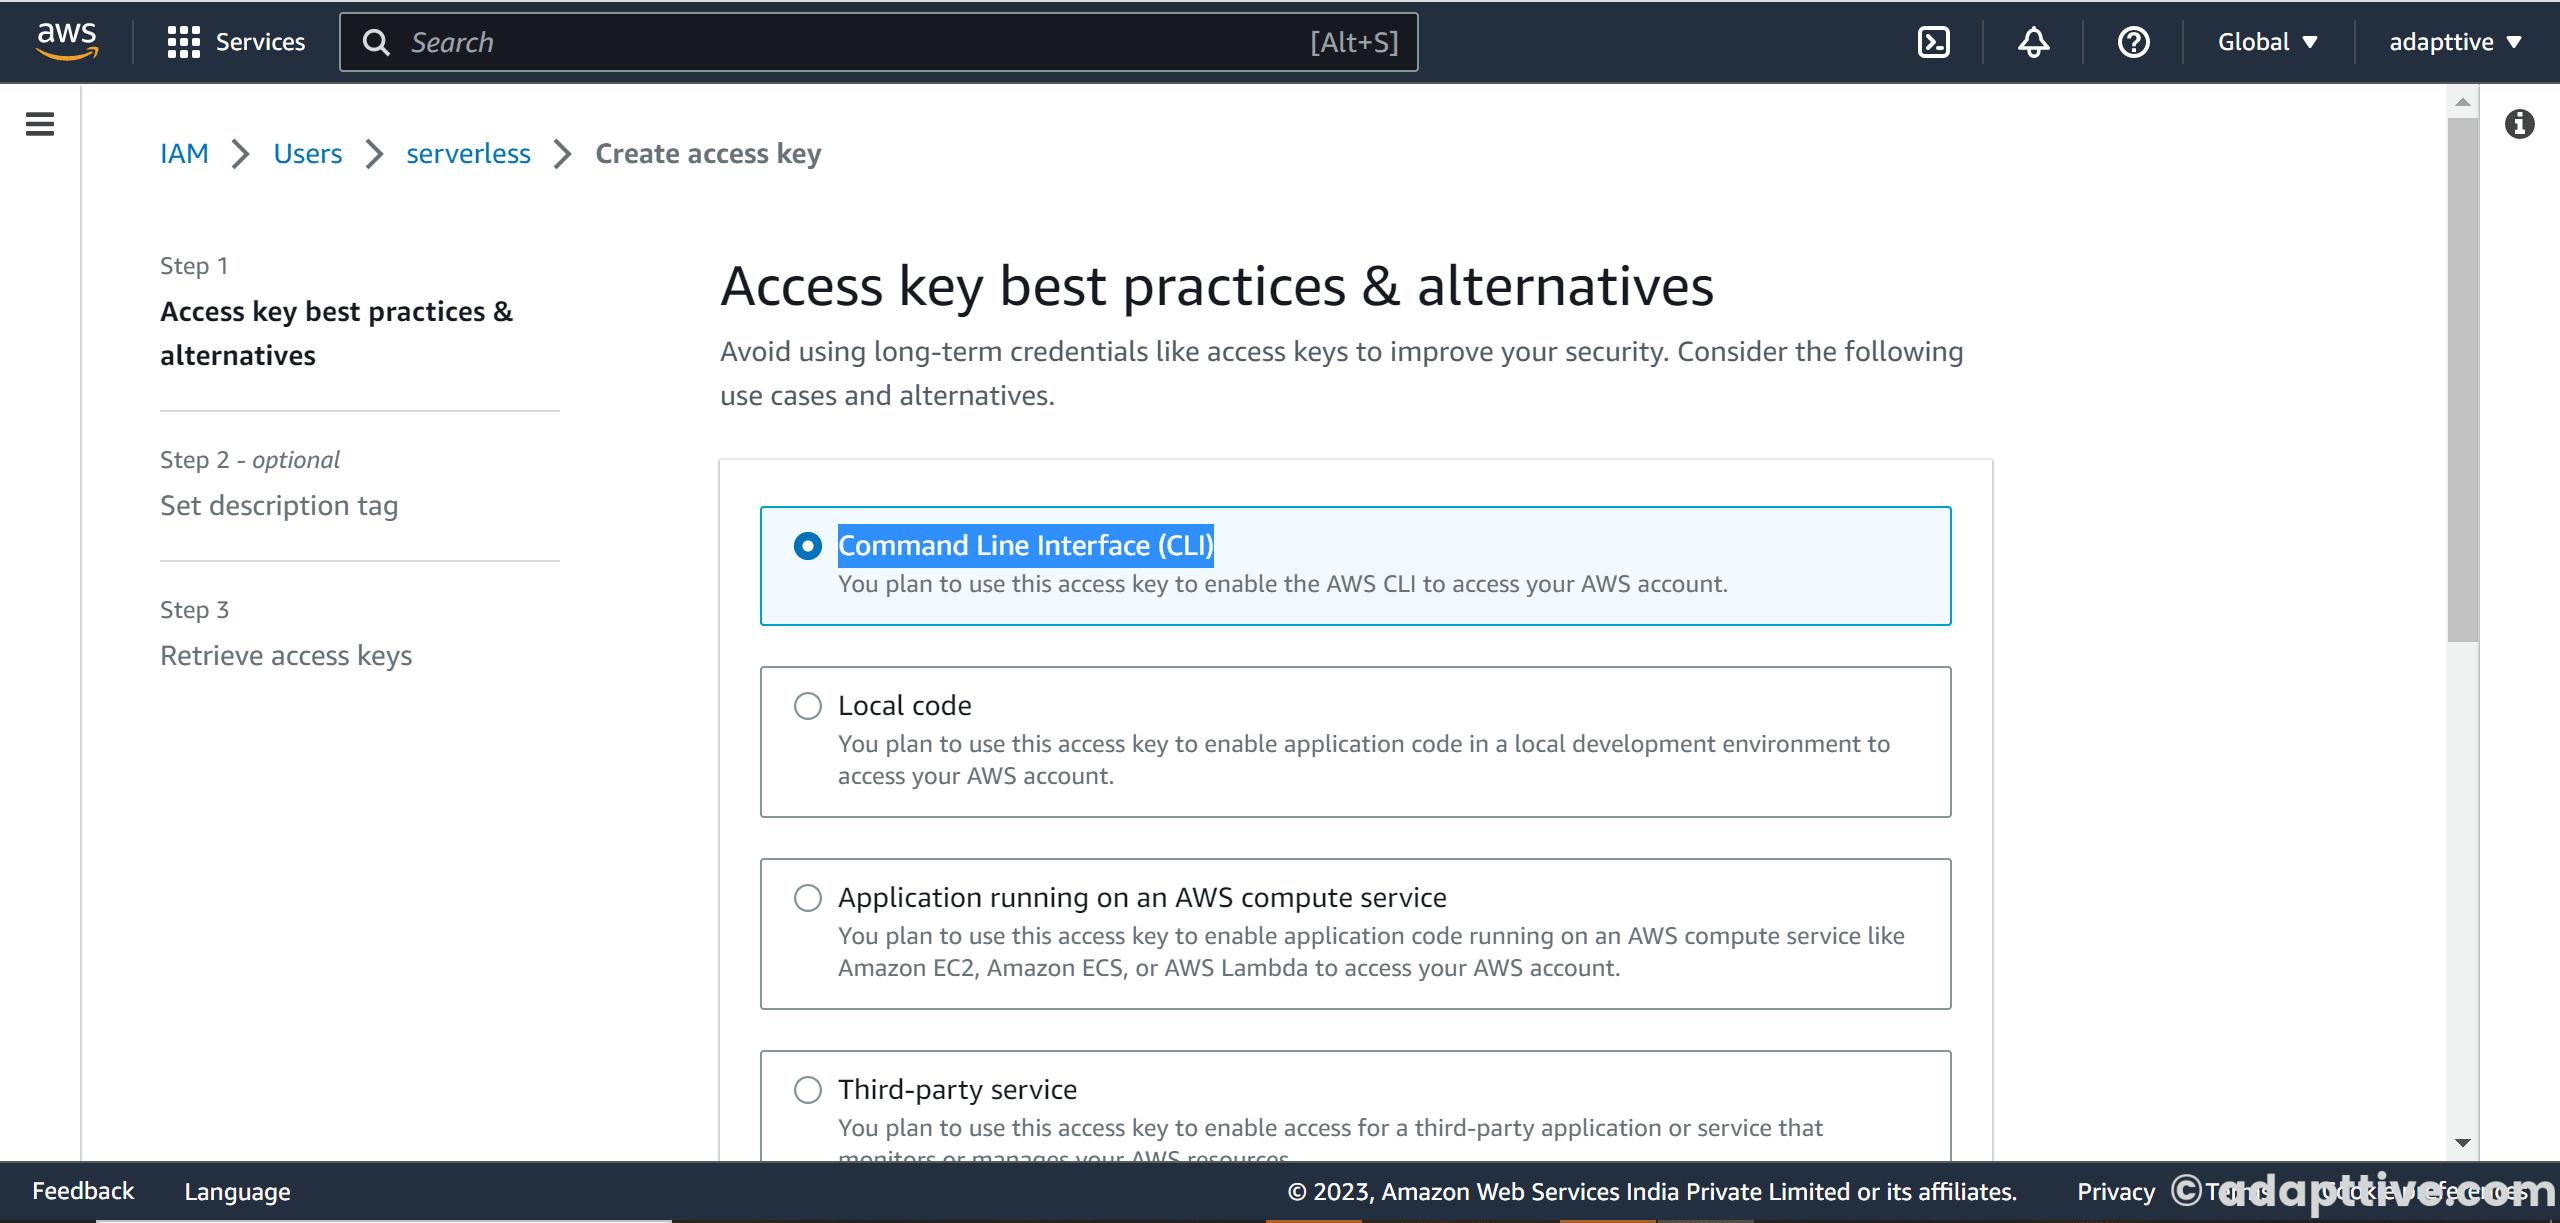
Then open created user, in my case
serverlessuser and create new Access keys from Security Credentials tab.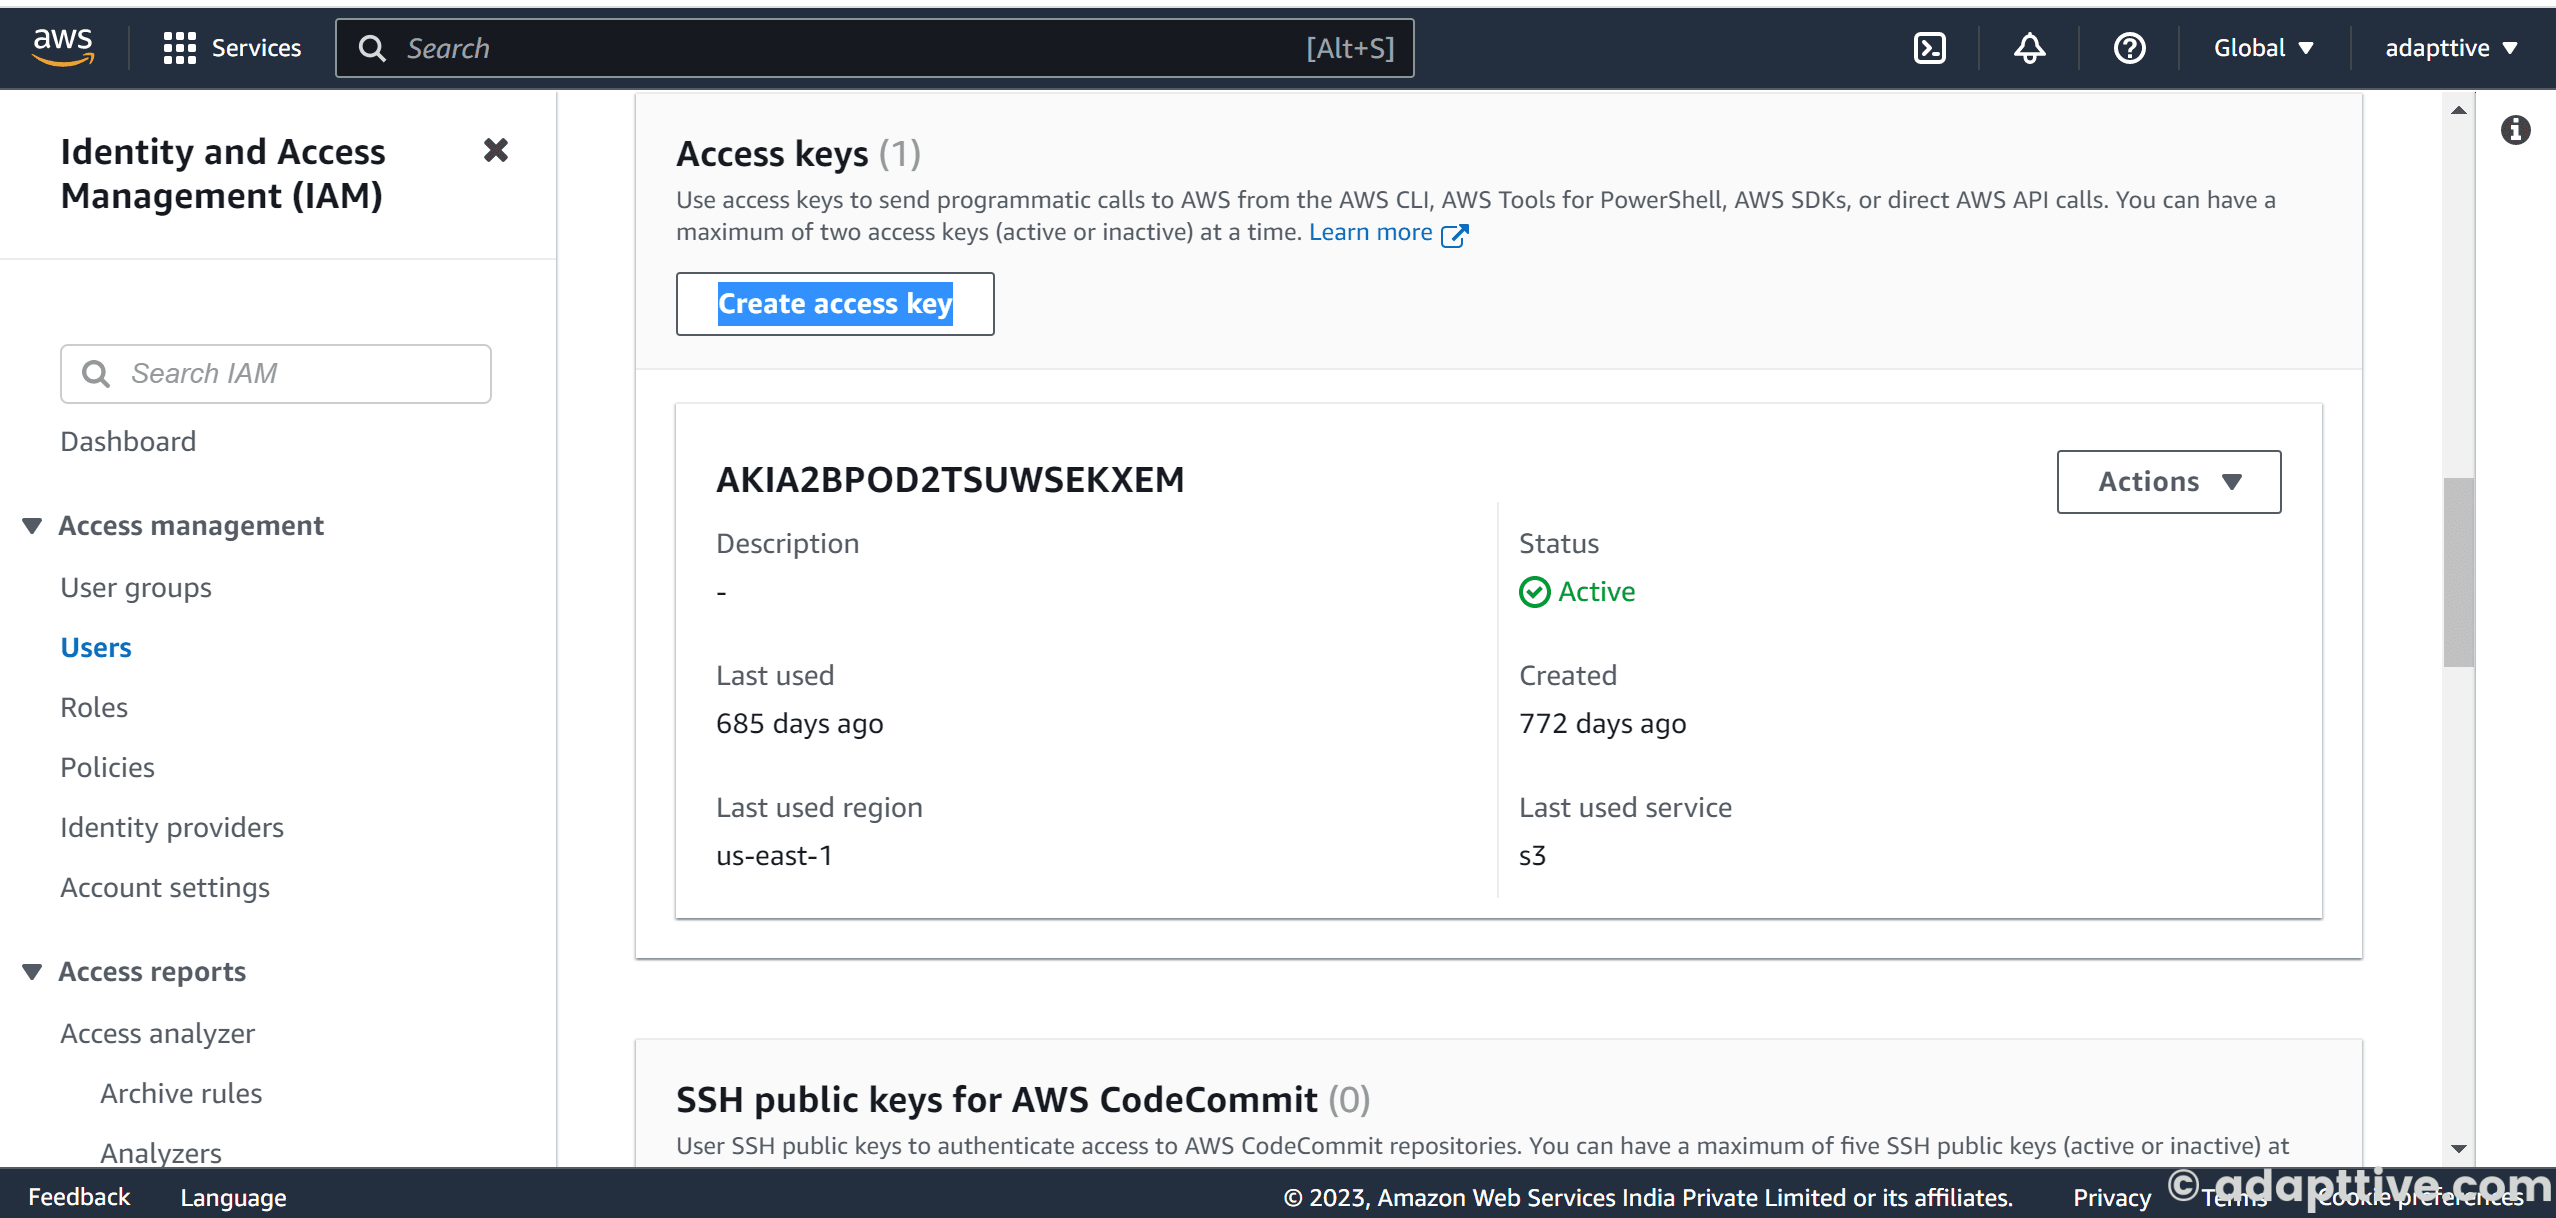
- Finally, add the applicable secret as environment variables from the GitHub secrets from
GitHub Project -> Settings -> Secrets and variables -> Actionsand add aNew repository secret. -
Create a
.github/workflows/deploy-live.ymlfile same as the below details:name: Serverless AWS Deploy on: push: branches: - main jobs: deploy: name: deploy runs-on: ubuntu-latest strategy: matrix: node-version: [16.x] steps: - uses: actions/checkout@v3 - name: Use Node.js ${{ matrix.node-version }} uses: actions/setup-node@v3 with: node-version: ${{ matrix.node-version }} - run: npm ci - name: serverless deploy --stage live uses: serverless/github-action@v3.1 with: args: deploy env: SERVERLESS_ACCESS_KEY: ${{ secrets.SERVERLESS_ACCESS_KEY }} PUPPETEER_SKIP_CHROMIUM_DOWNLOAD: true # or if using AWS credentials directly # AWS_ACCESS_KEY_ID: ${{ secrets.AWS_ACCESS_KEY_ID }} # AWS_SECRET_ACCESS_KEY: ${{ secrets.AWS_SECRET_ACCESS_KEY }} -
The above workflow trigger when the code is merged into the
mainbranch. You can change the trigger to run the action on pull request creation as below:on: pull_request: branches: - main -
In the end, raise a PR on the
mainbranch or push changes to themainbranch and see your action deploying your app to AWS.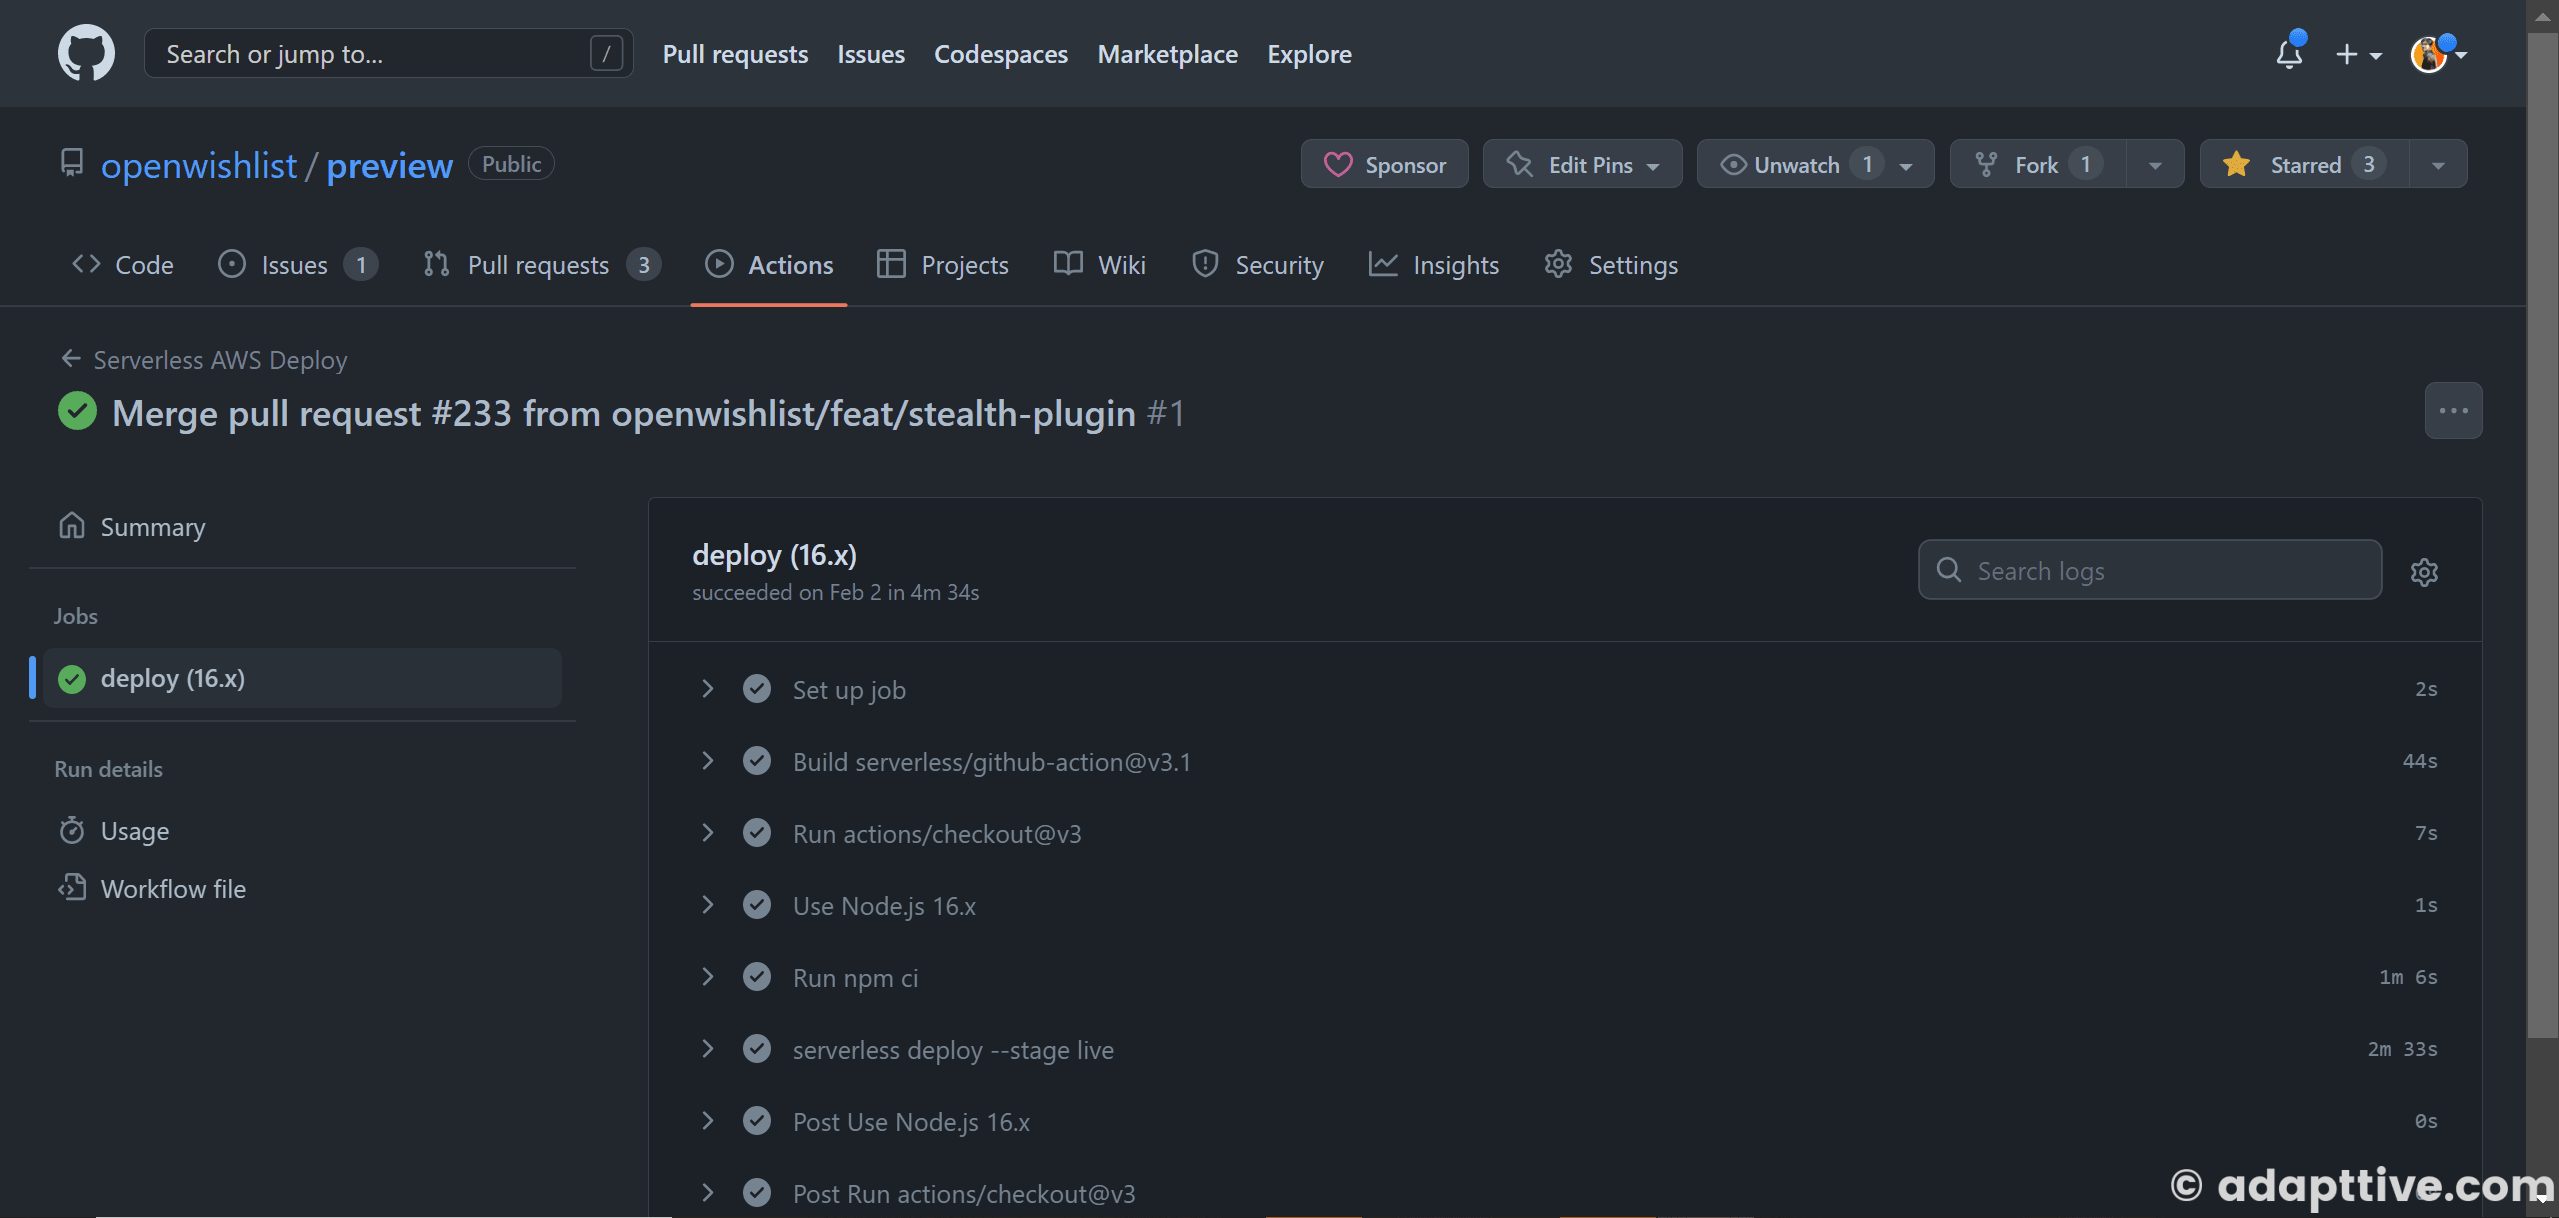
- To deploy via
-
Debugging
Error: unable to get local issuer certificateerror onserverless --org=<username>. Disable Node.js SSL check temporarily by using the below command.
export NODE_TLS_REJECT_UNAUTHORIZED=0